Barrie-Port Carling


Maintaining a property in Central Ontario requires a deep understanding of environmental stress factors. From the suburban expansion around Lake Simcoe to the multi-million-dollar waterfront retreats in the Muskoka region, every property demands a specific protective strategy. At El Royale Painting, our high-end interior and exterior painting service is engineered to provide not just an aesthetic upgrade, but long-lasting structural defense. By combining advanced coating technologies with meticulous preparation, we deliver results that standard house painting services simply cannot match.
Weather-Resilient Outdoor Painting in Barrie
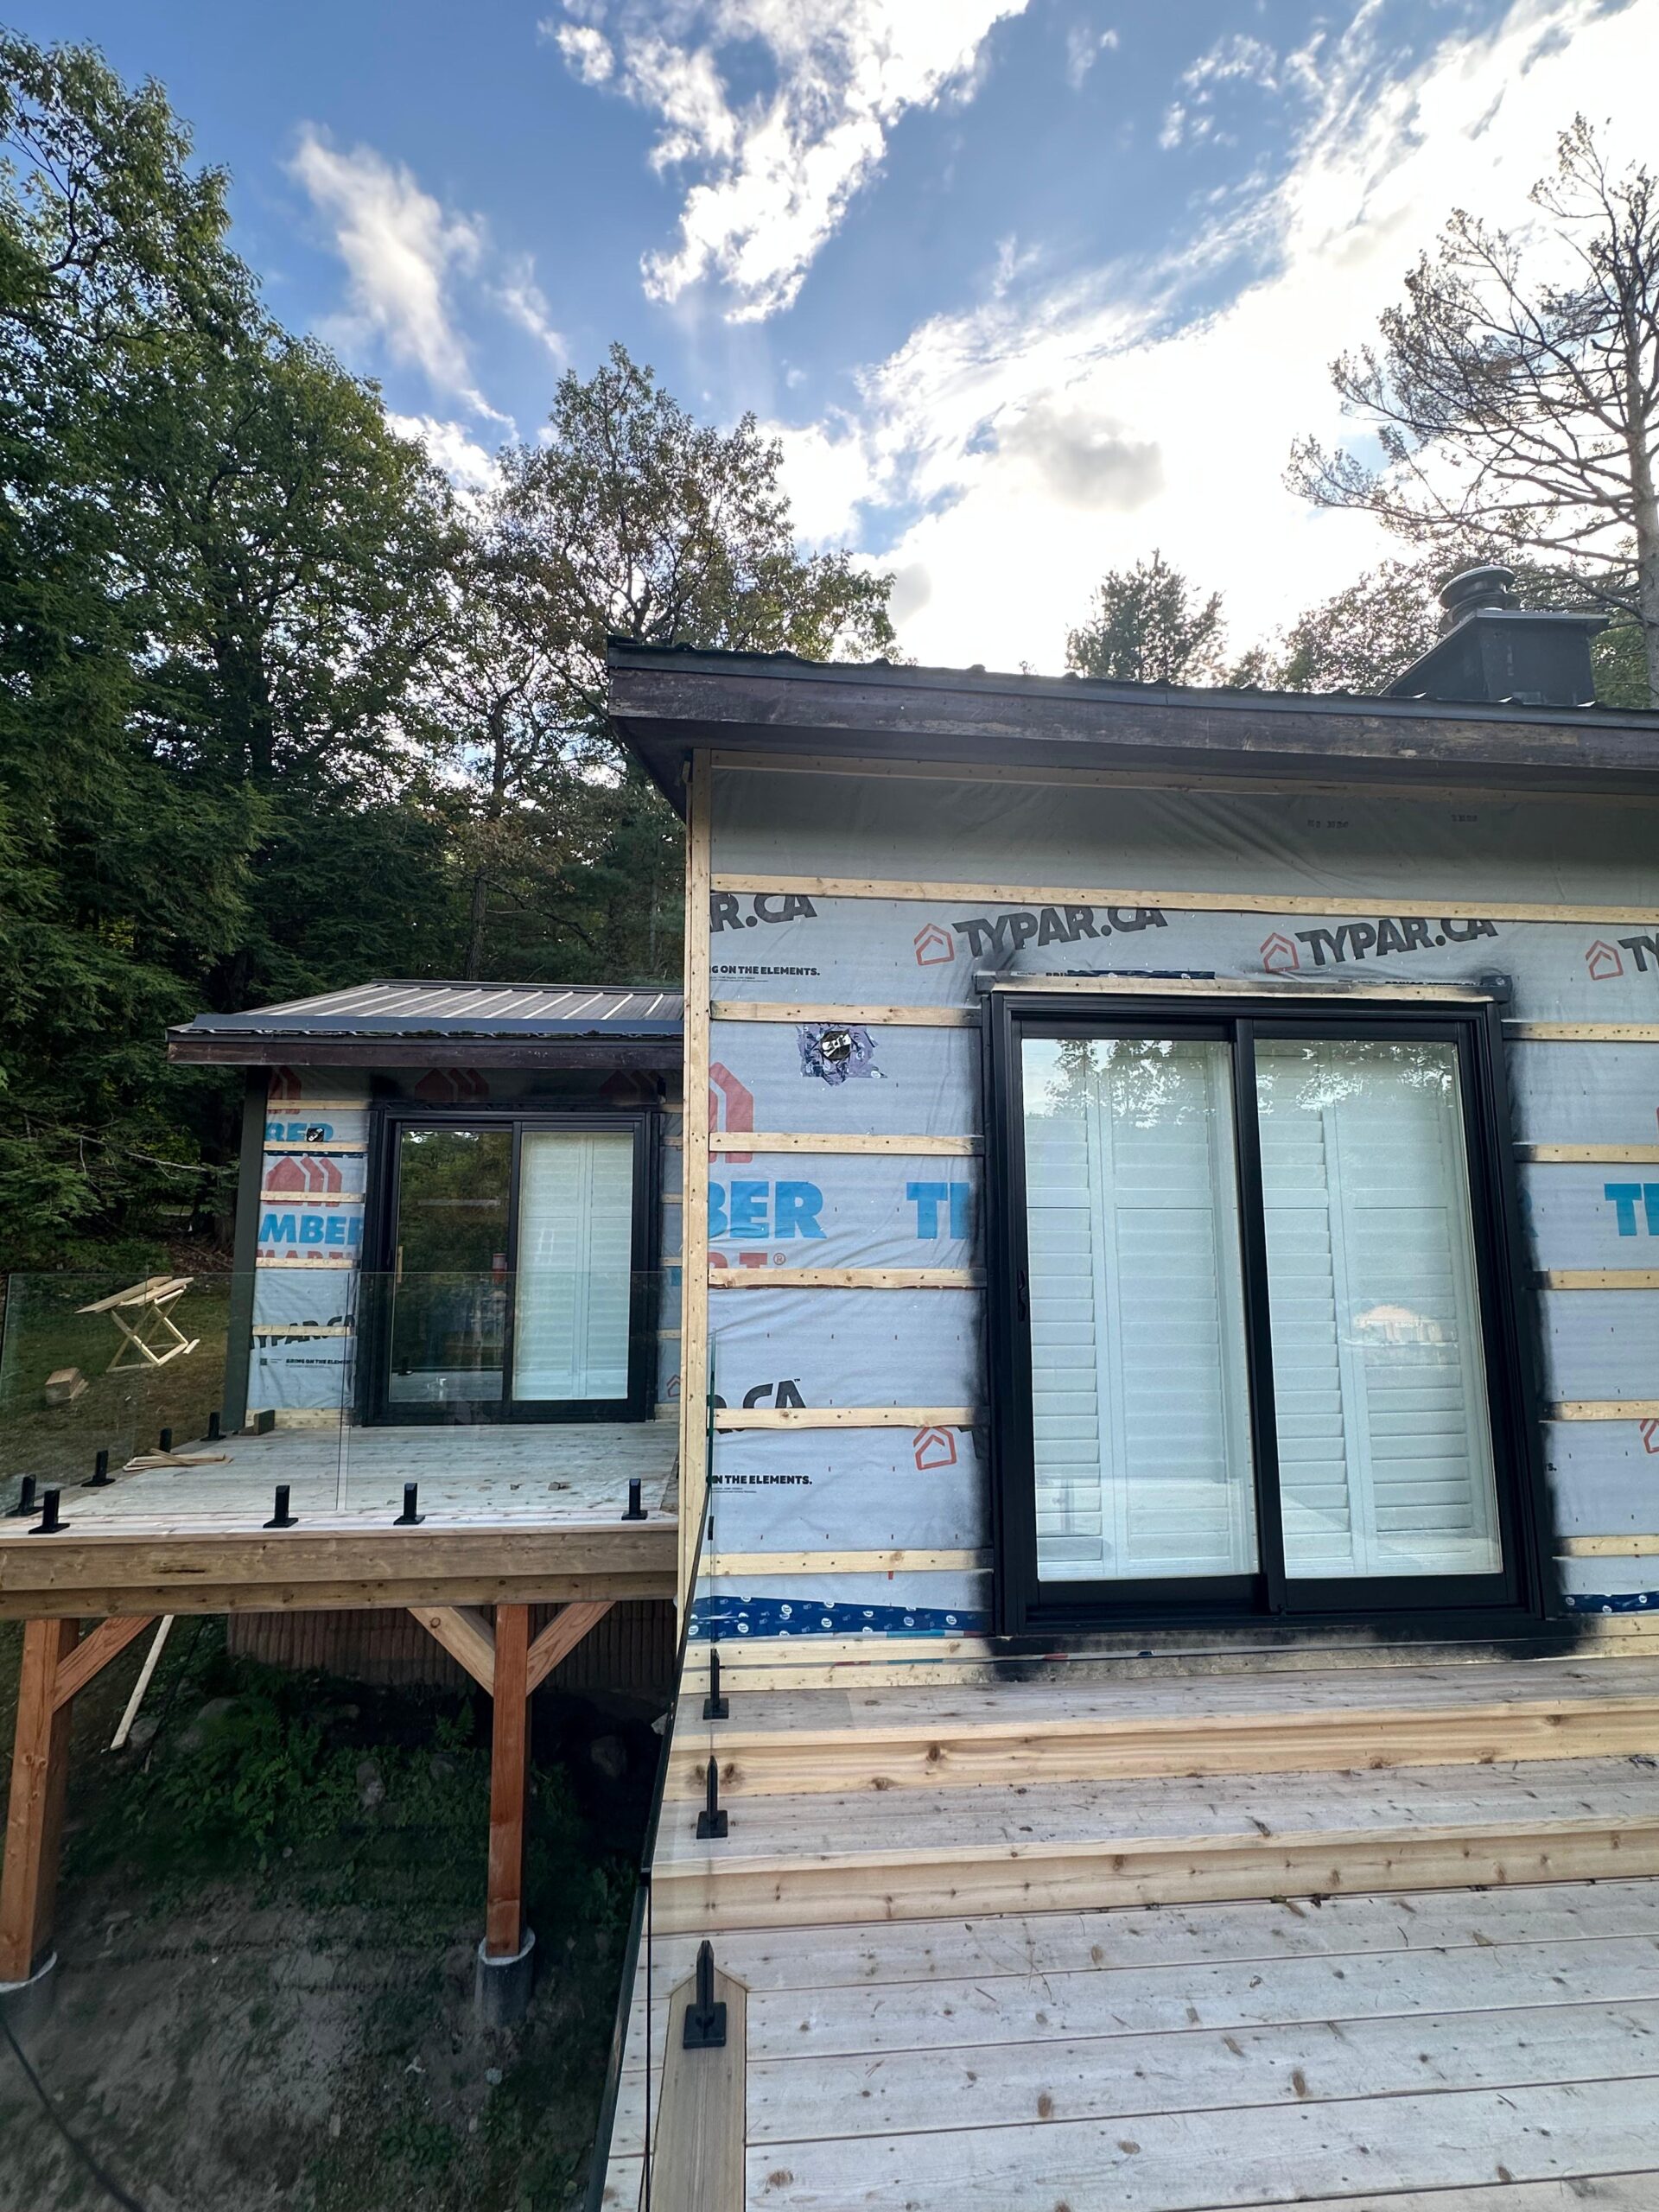
Barrie’s geographic location near Lake Simcoe subjects homes to intense freeze-thaw cycles, driving rain, and significant snow accumulation. These elements act as catalysts for substrate degradation. When we plan an exterior painting in Barrie project, our primary focus is creating a thermal and moisture barrier.
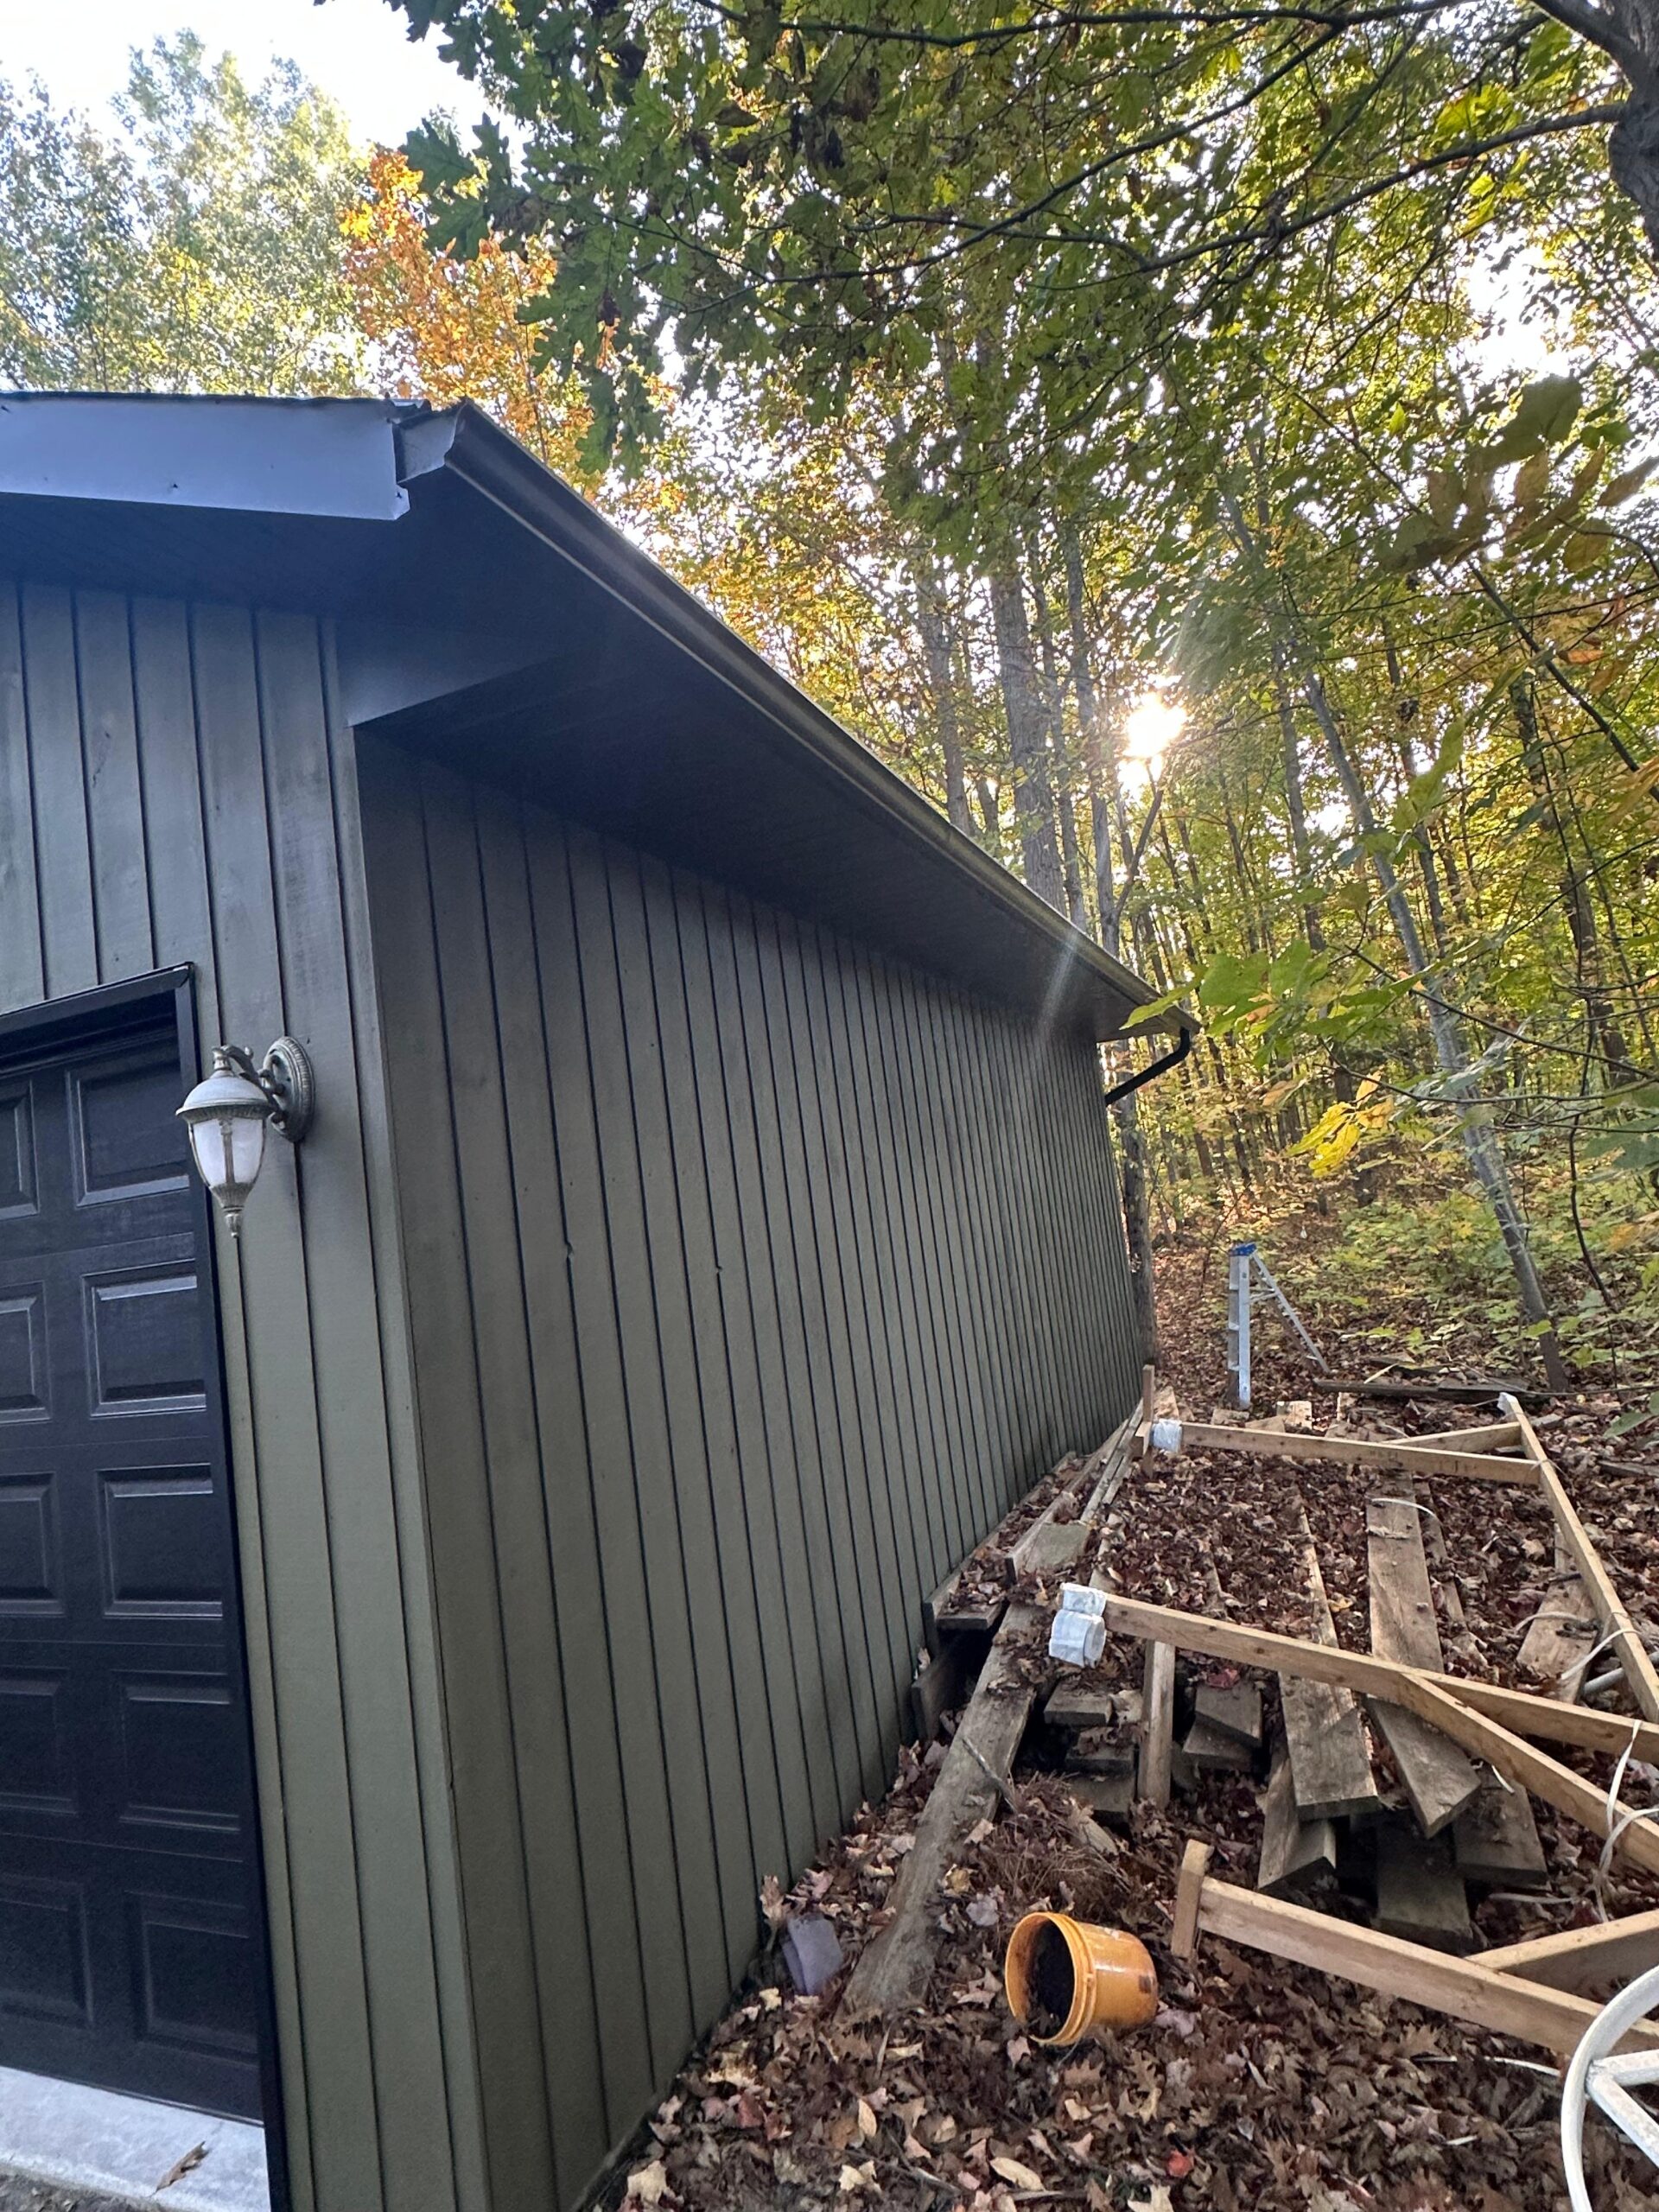
Many homeowners experience premature paint failure because unverified contractors use low-grade acrylics that trap moisture. As a premier house painter, our team utilizes highly breathable, elastomeric coatings. This means that when you invest in our outdoor painting solutions, your home’s facade can literally stretch and contract with the changing barometric pressure. We meticulously scrape, sand, and power-wash all surfaces before any exterior painting begins, ensuring that our primers achieve maximum mechanical adhesion to your siding, brick, or stucco.
Luxury Heritage Preservation: Exterior Painting in Port Carling
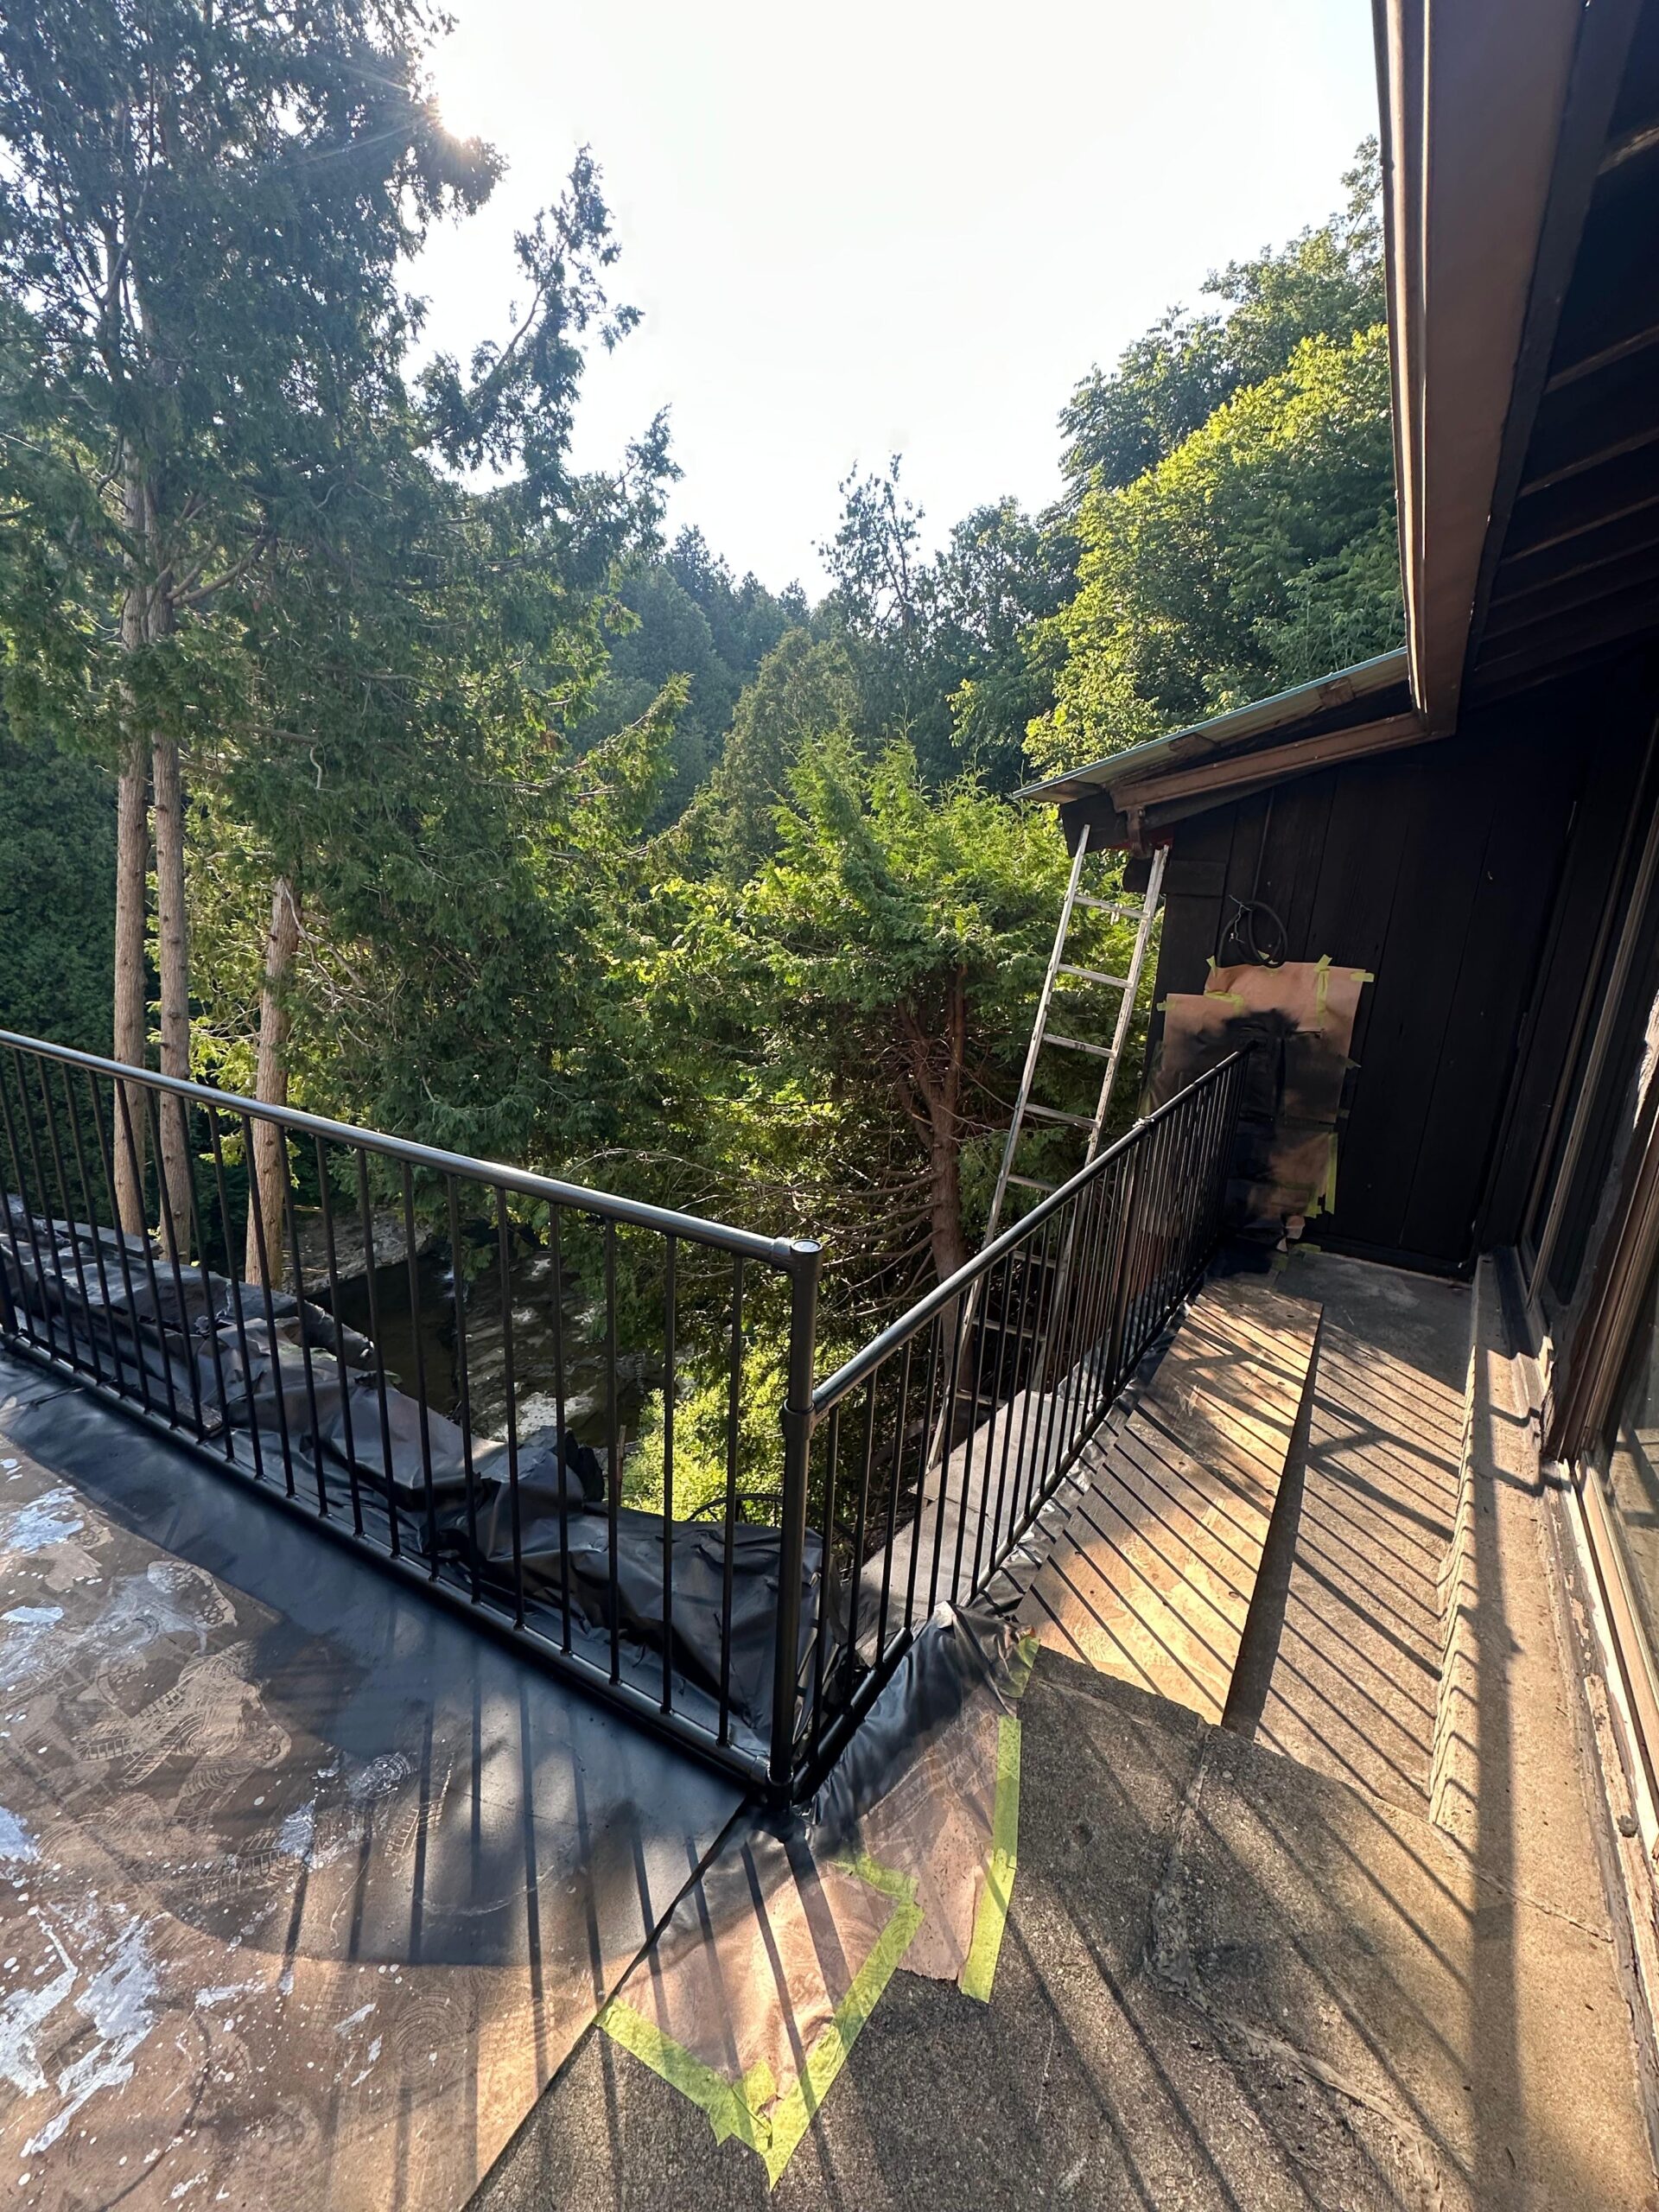
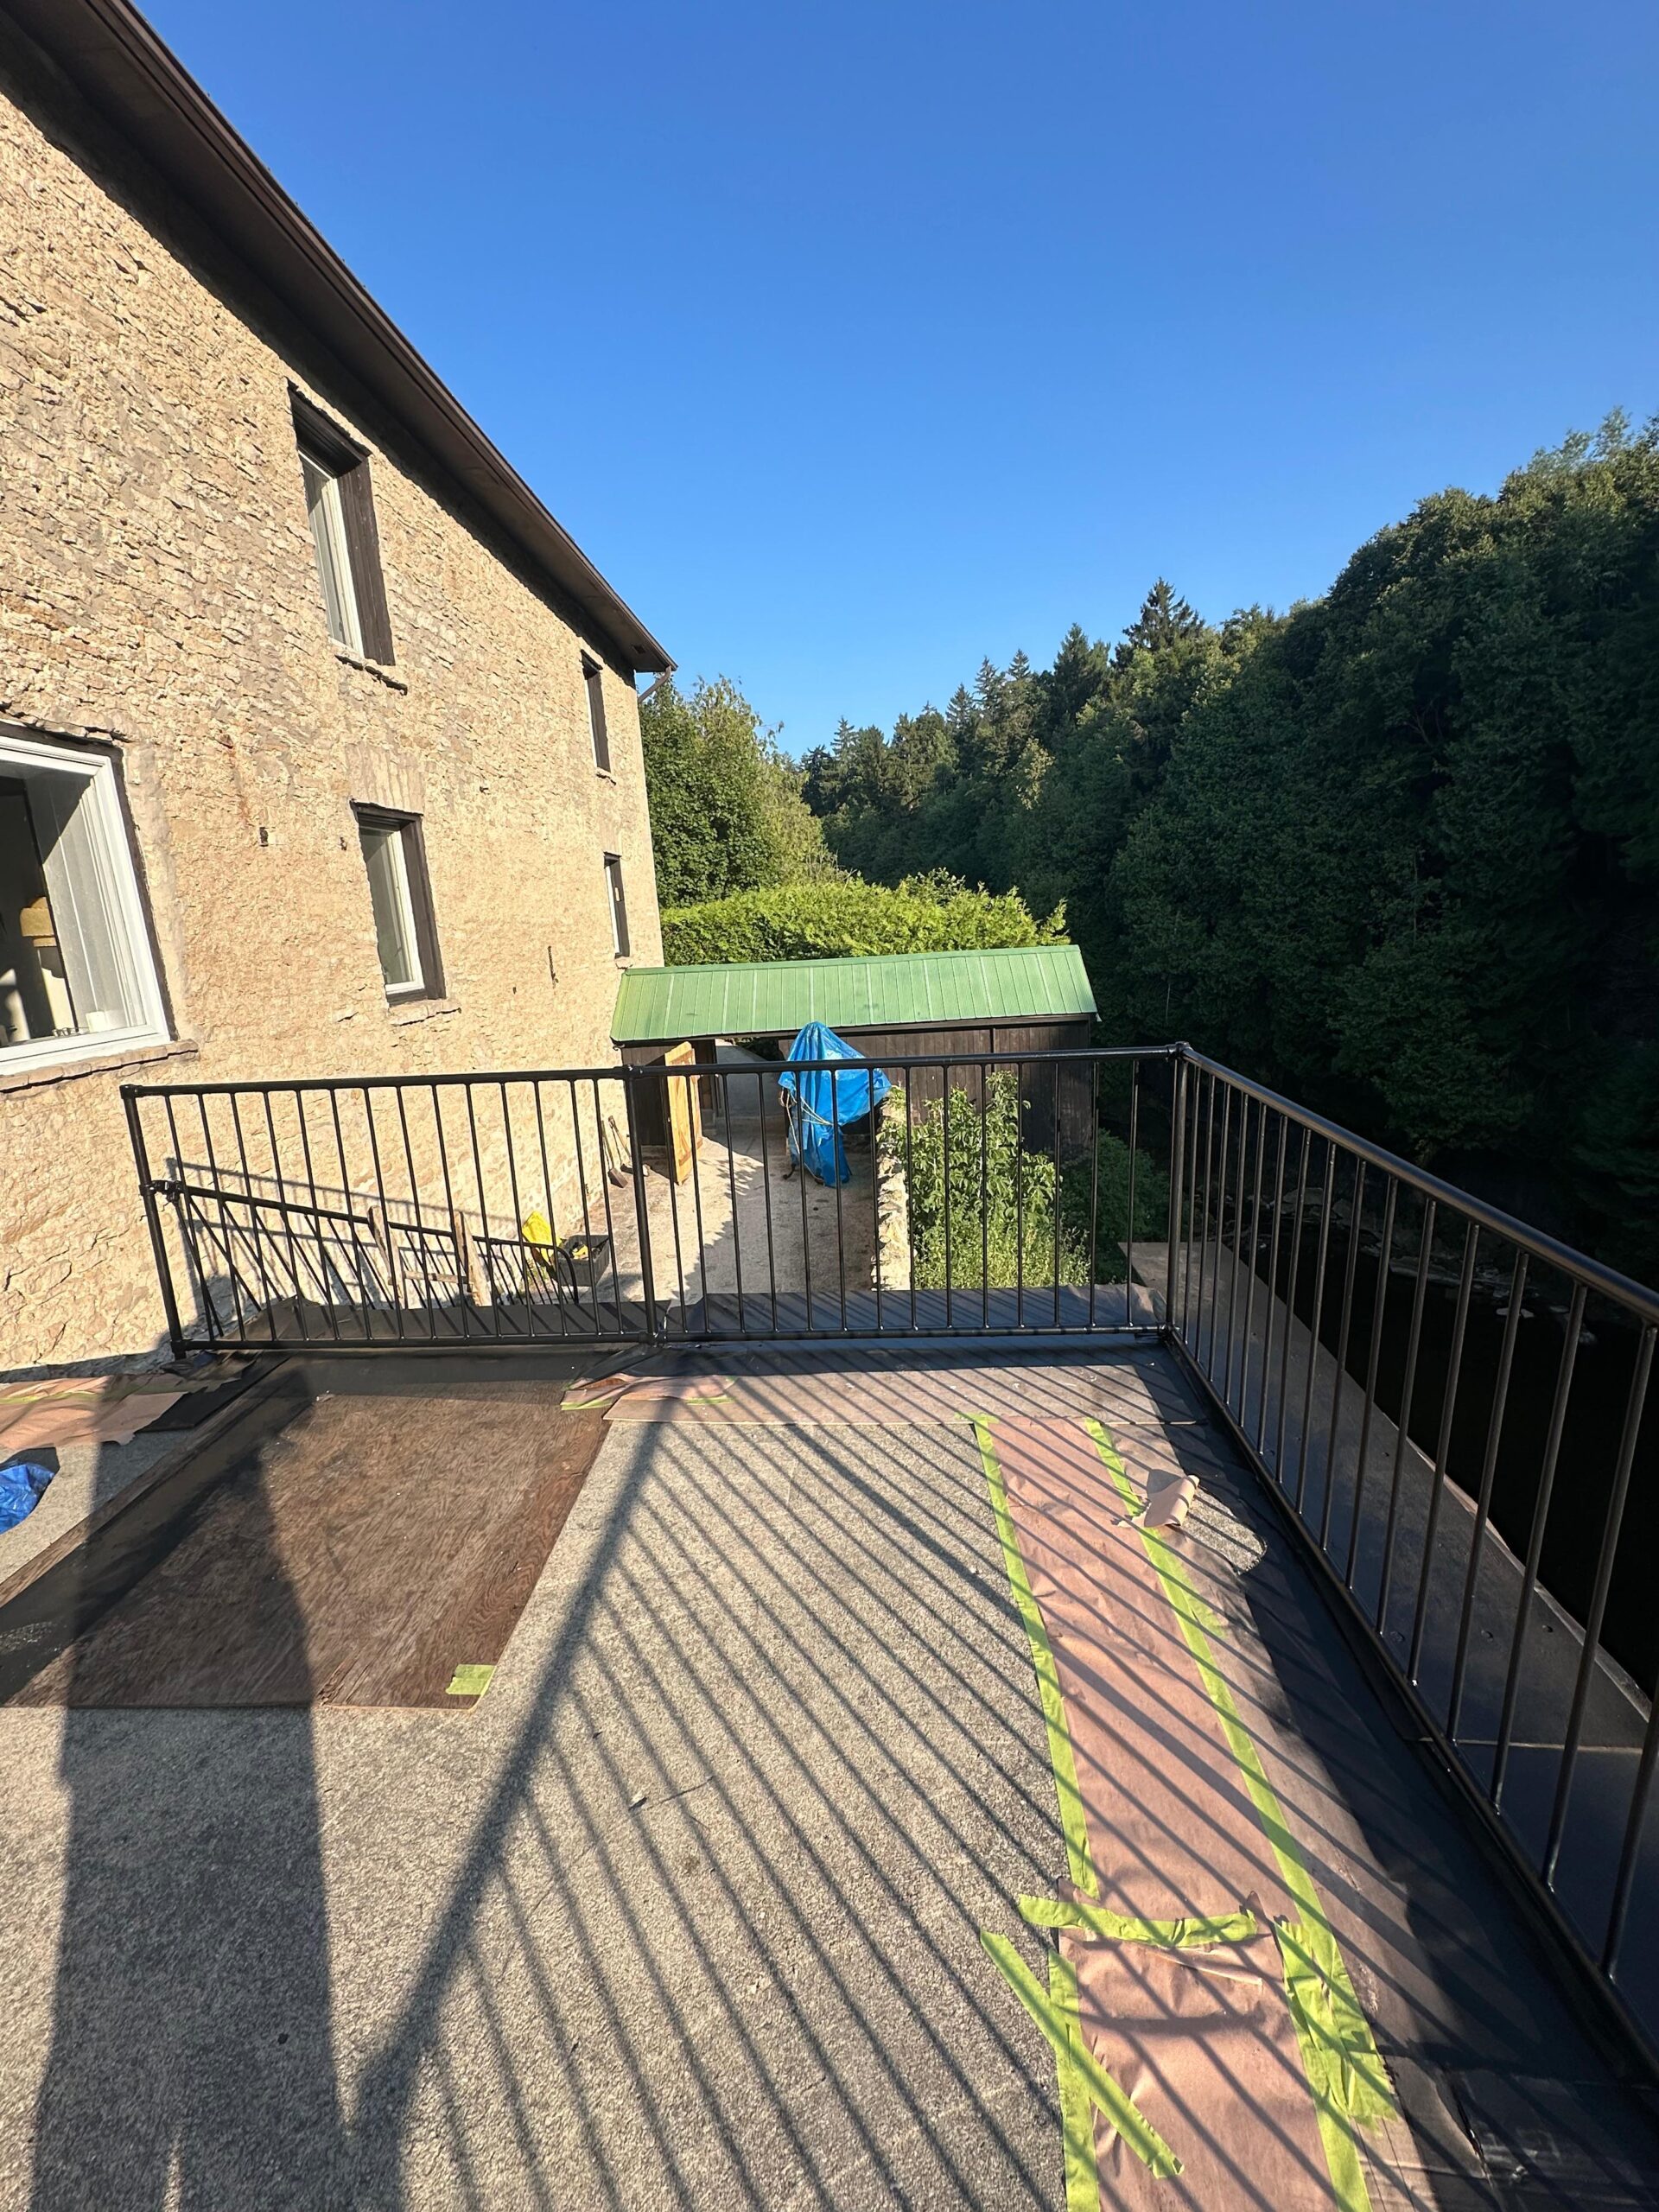
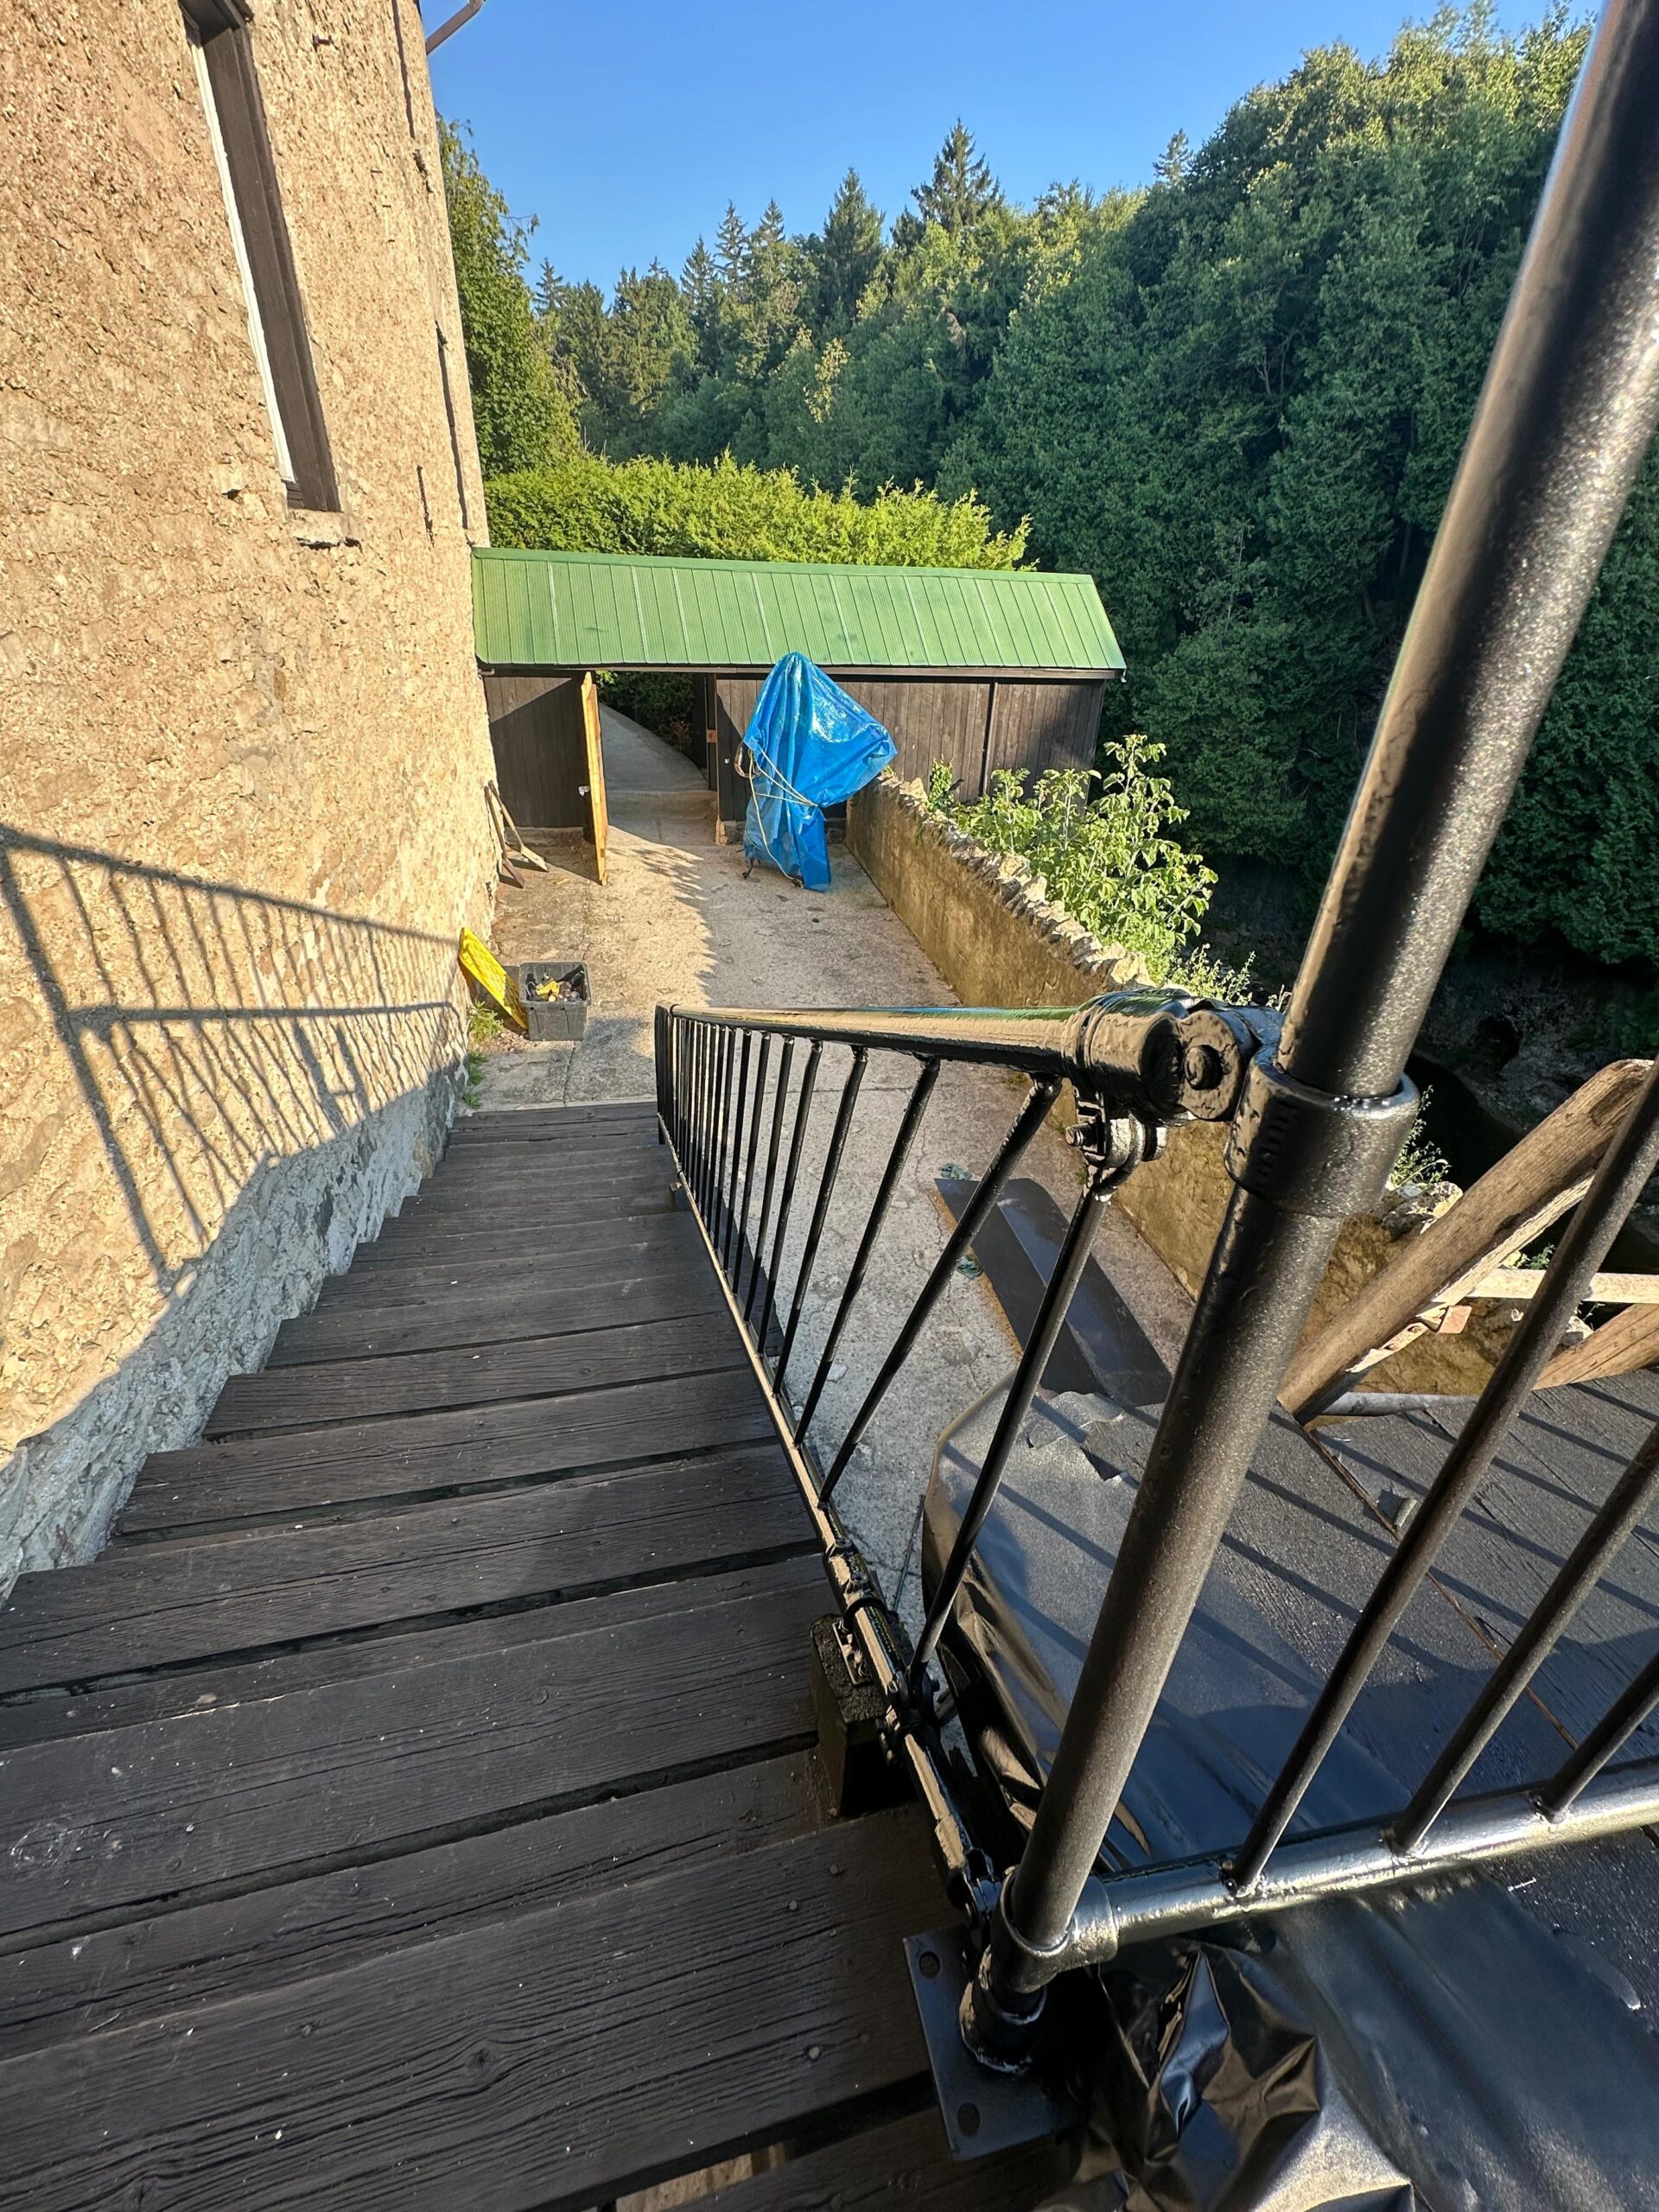
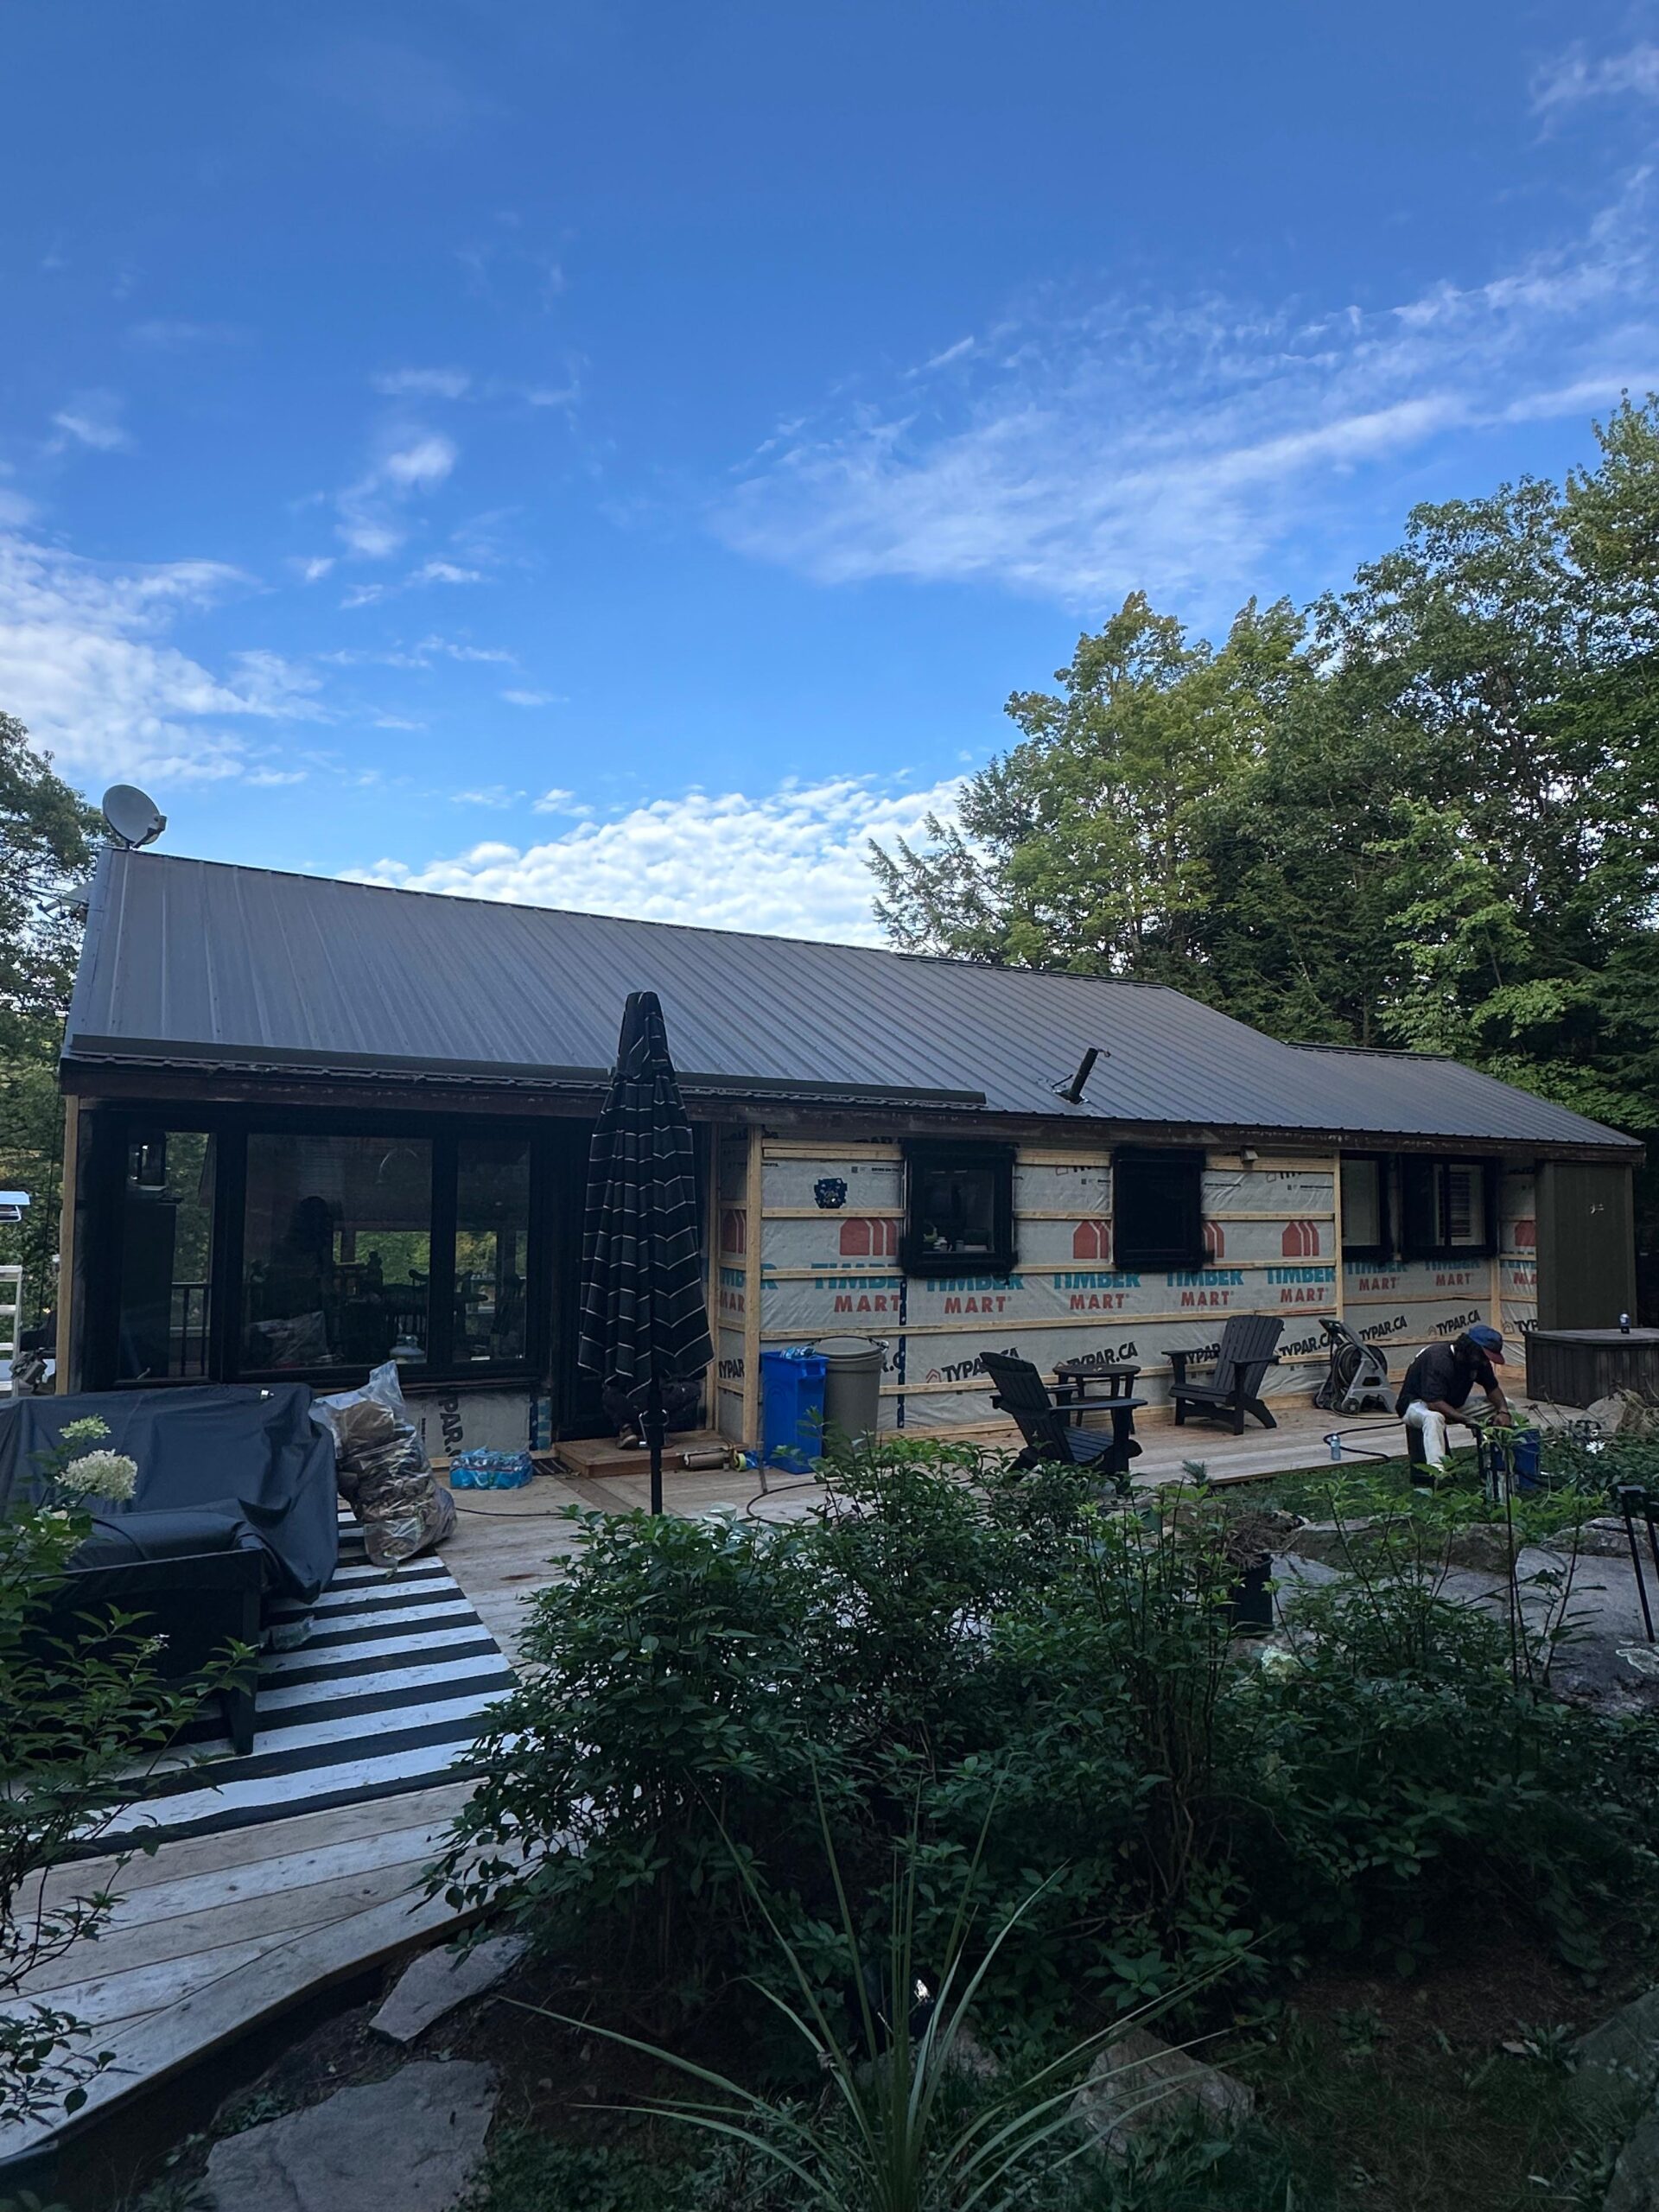
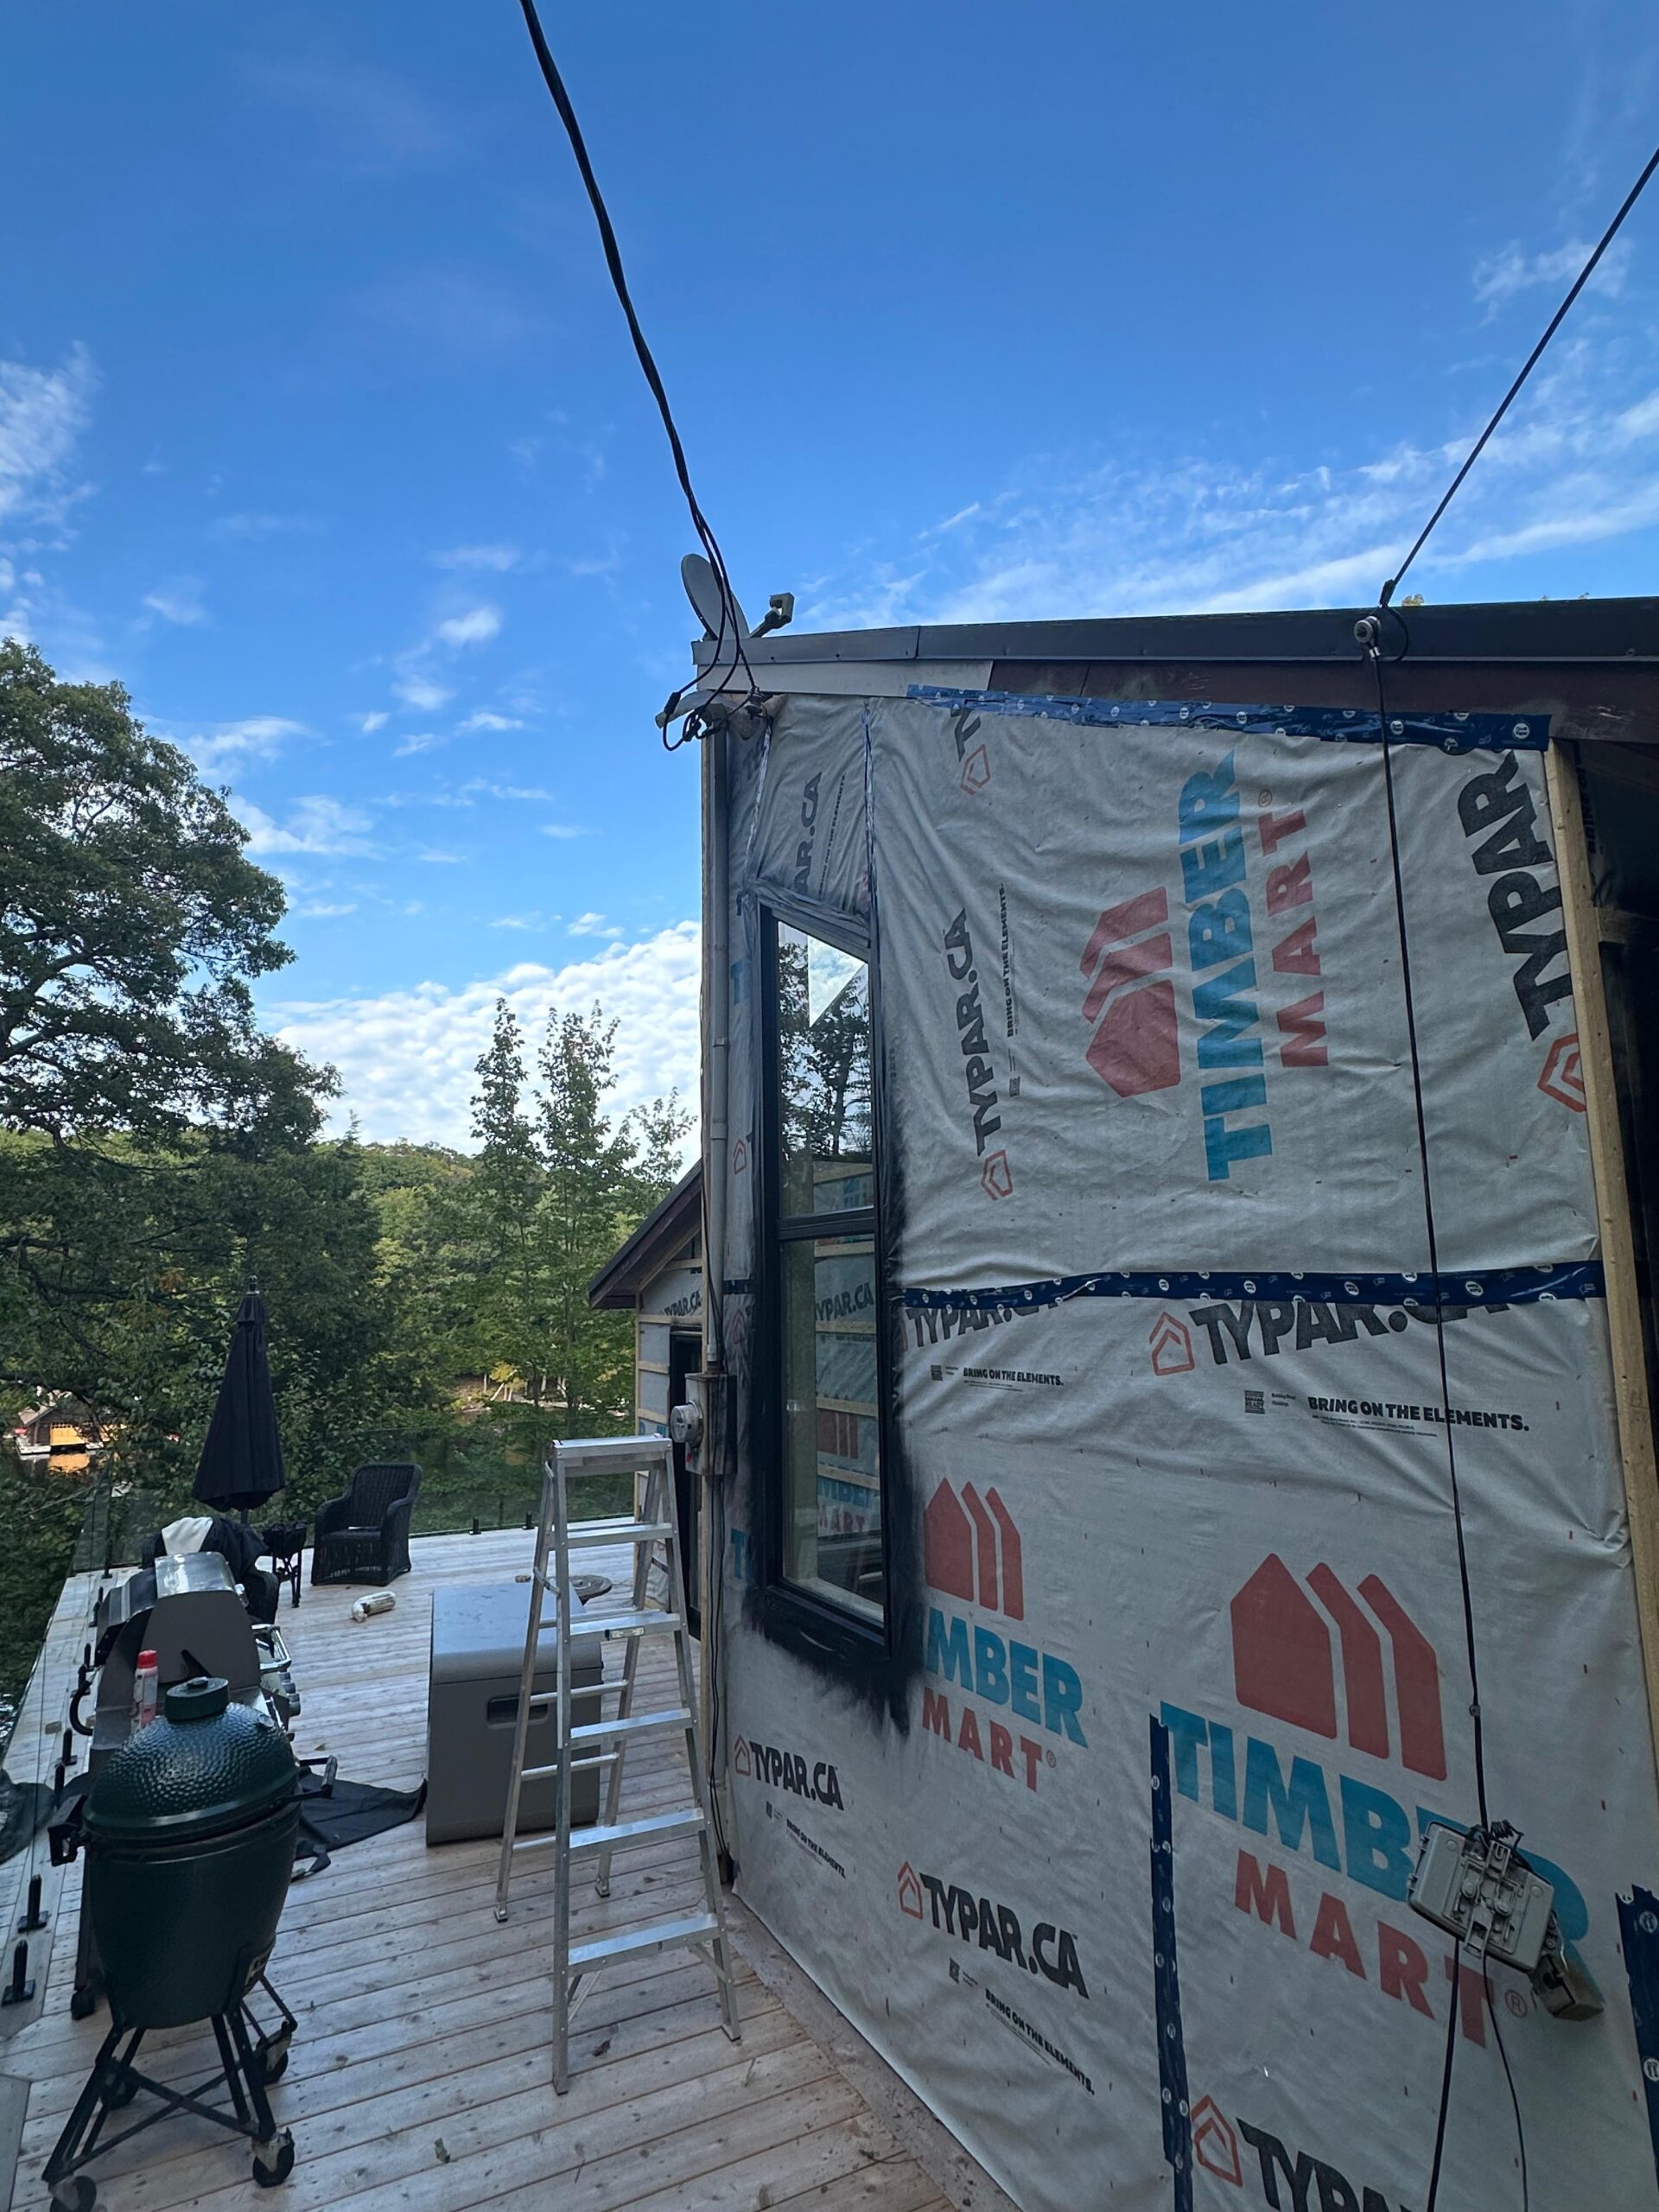
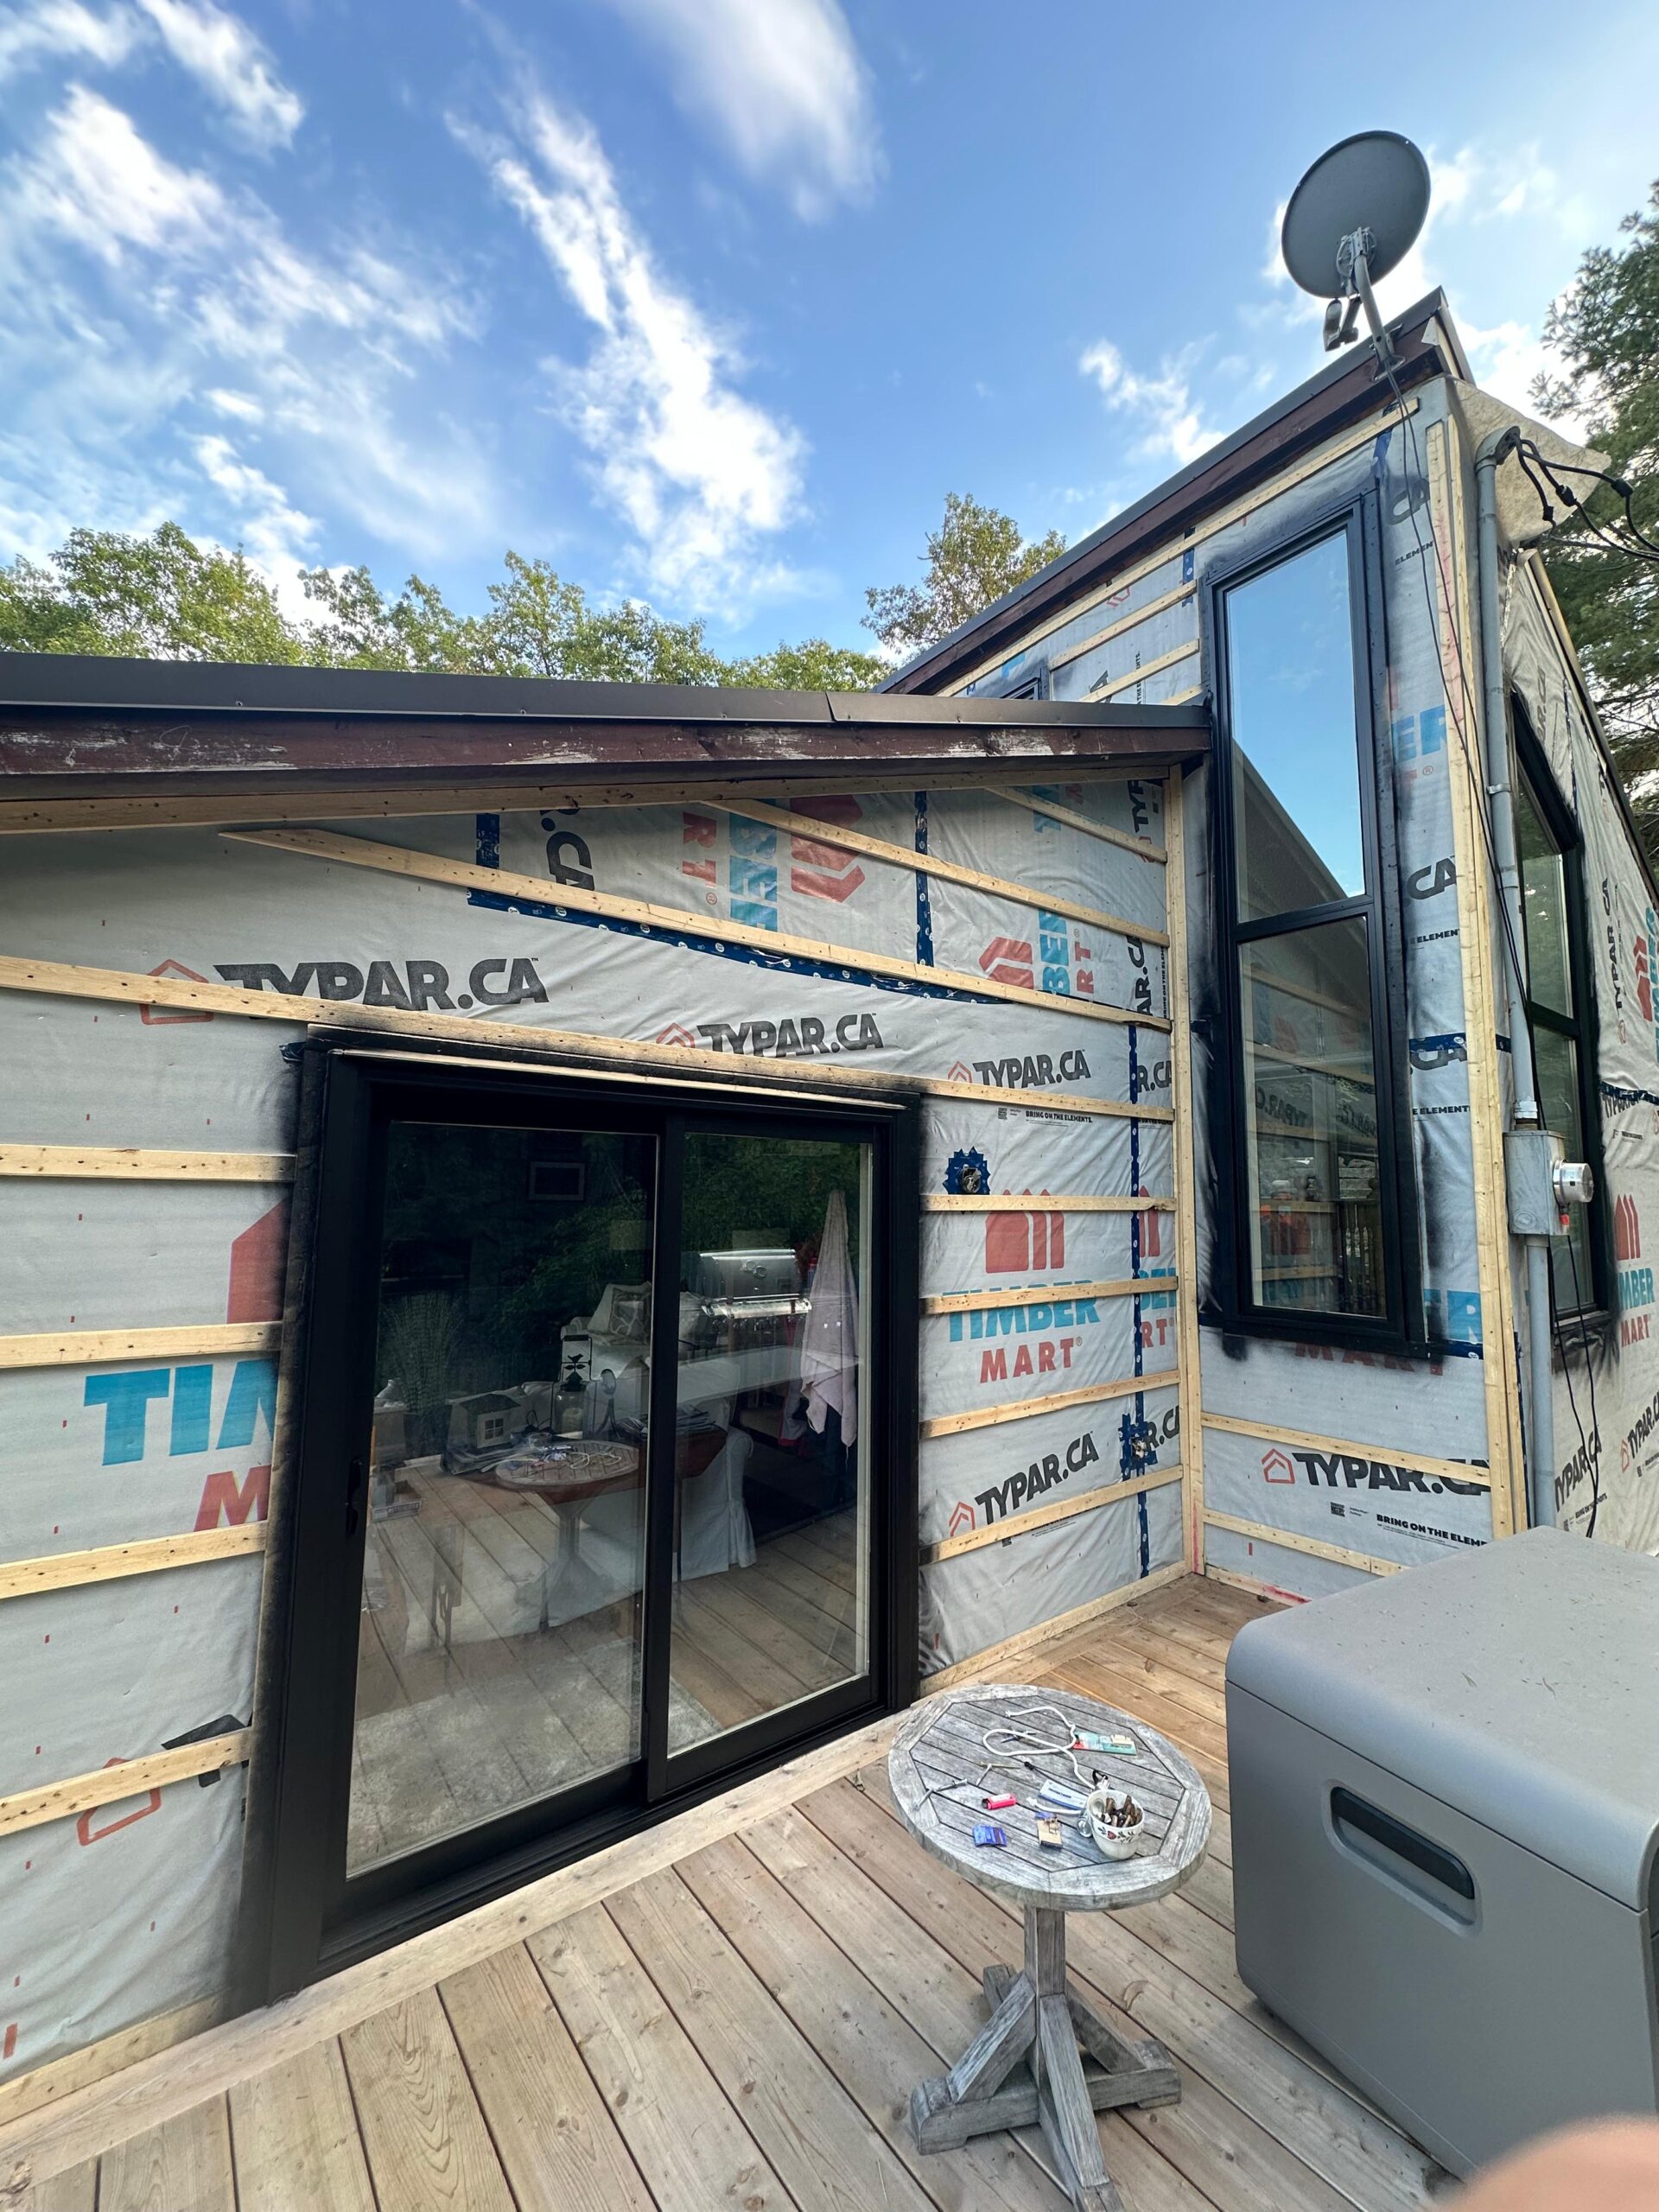
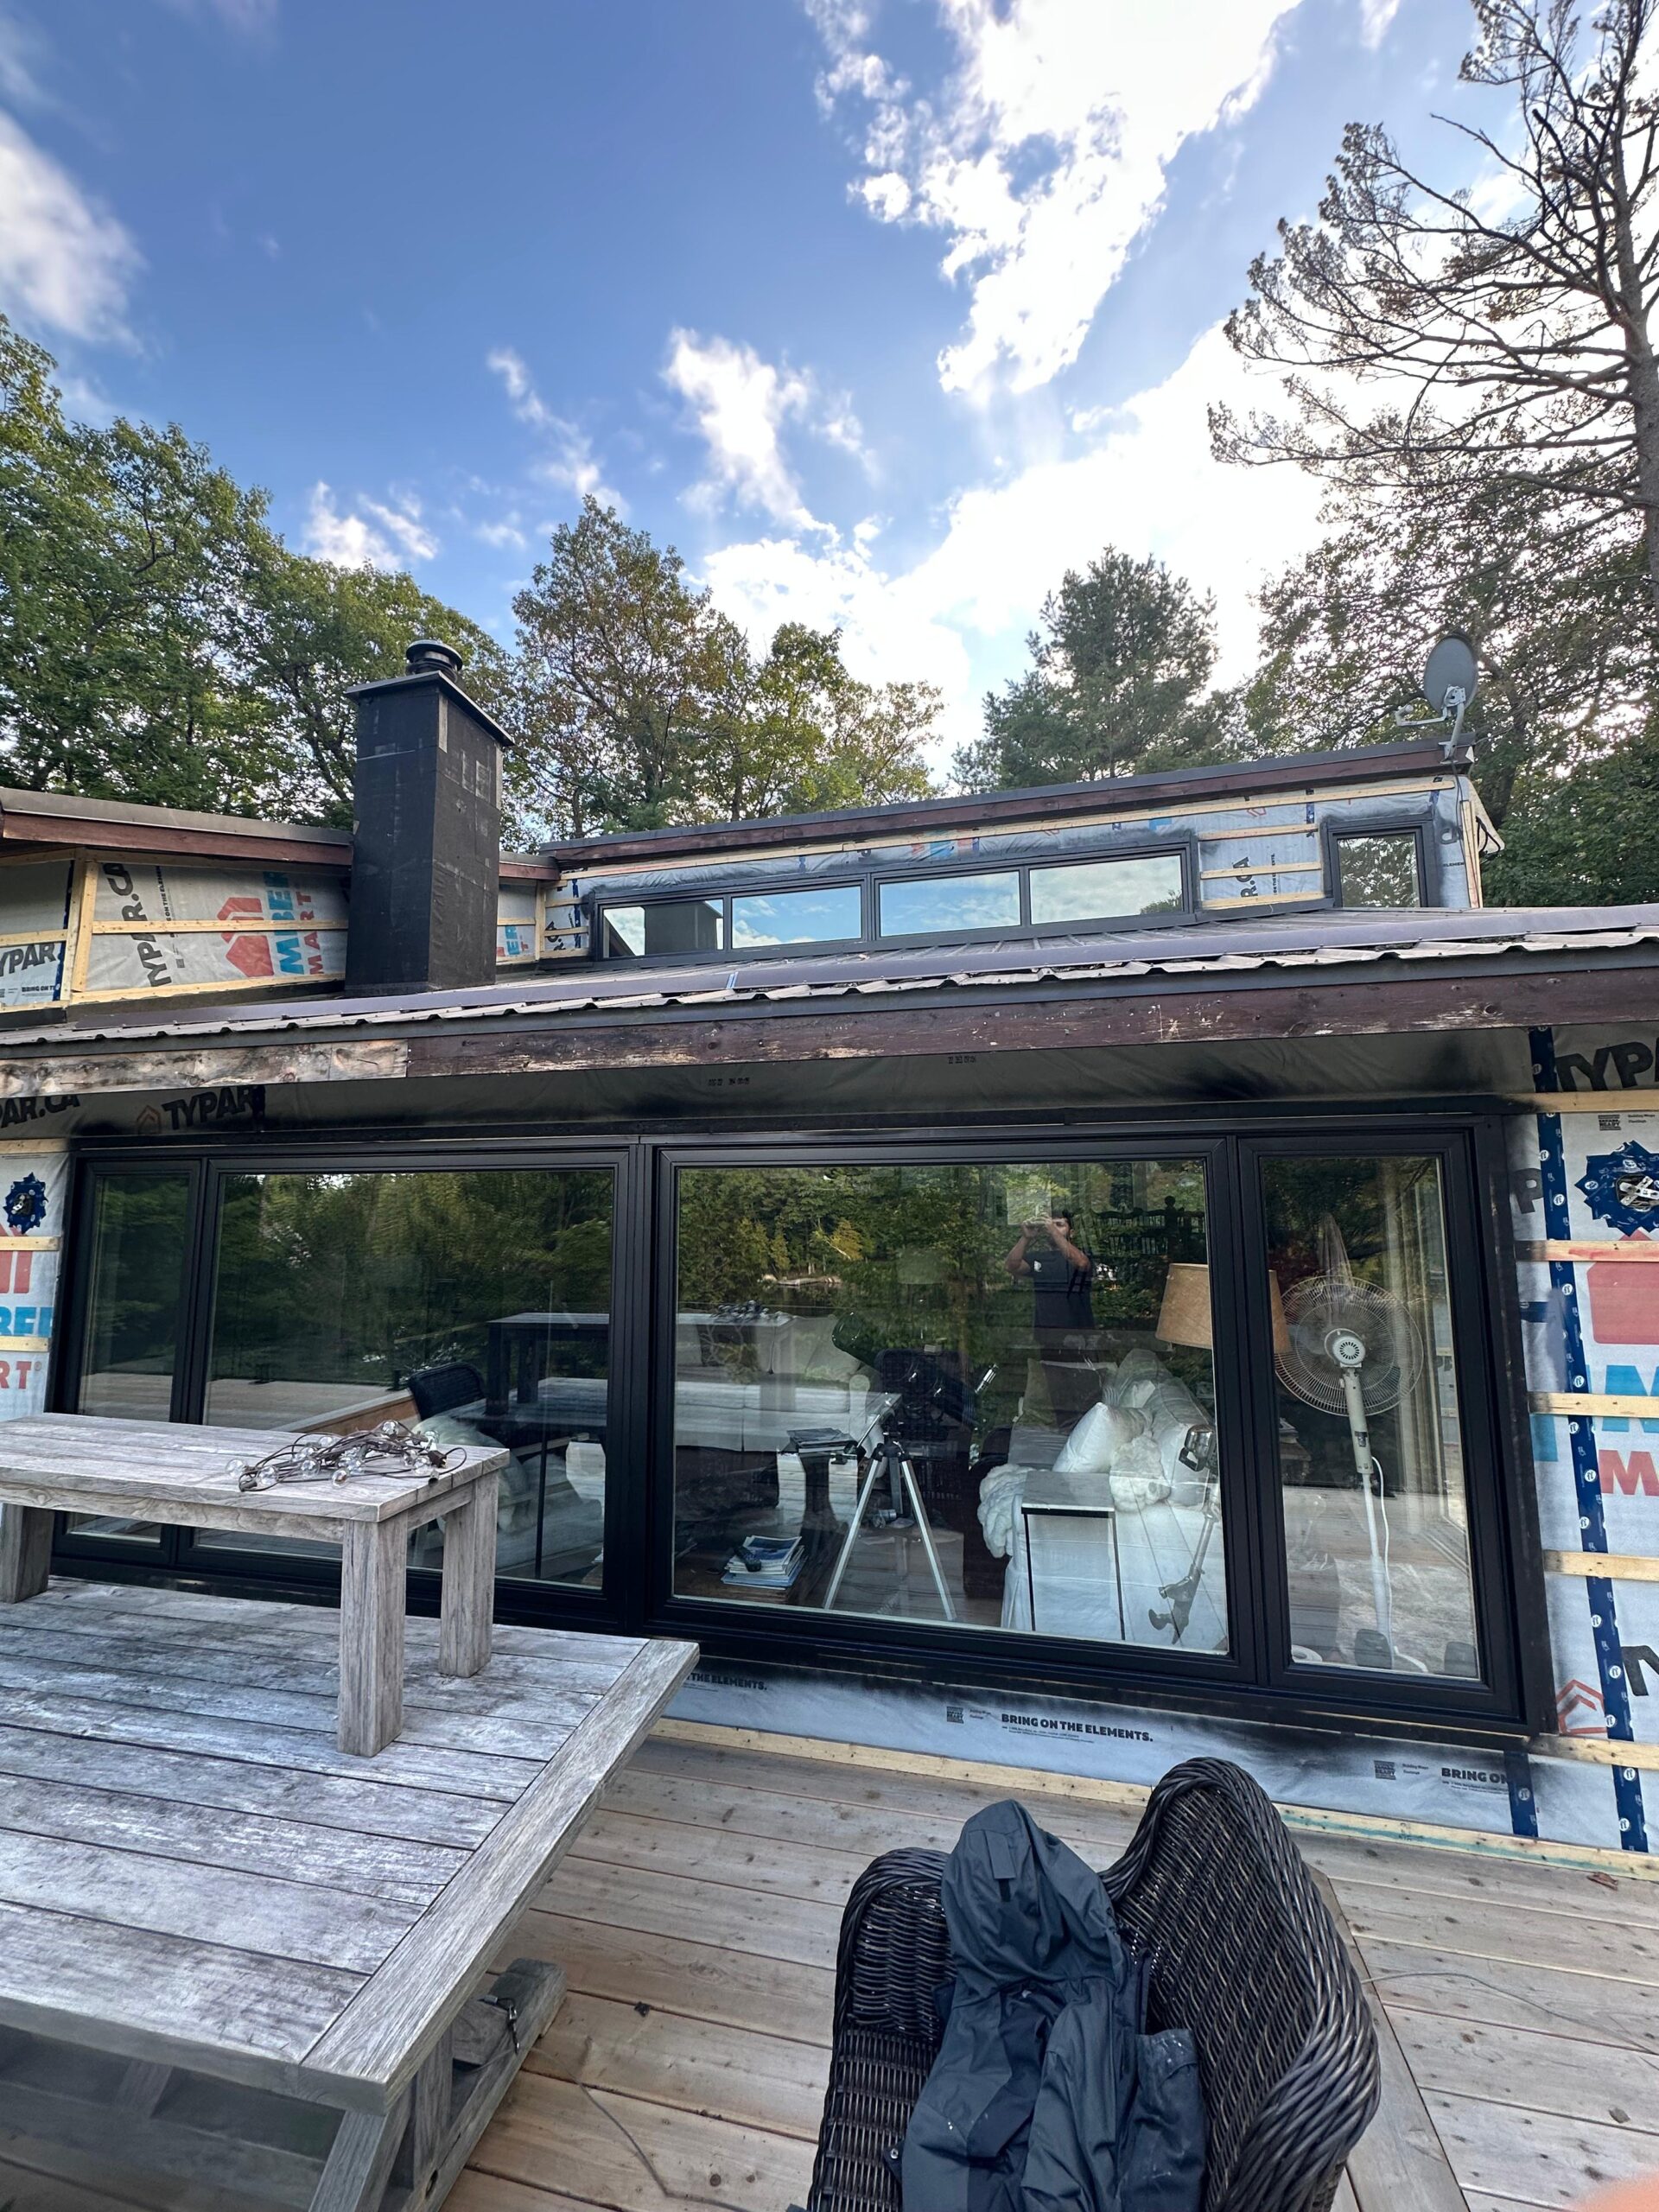
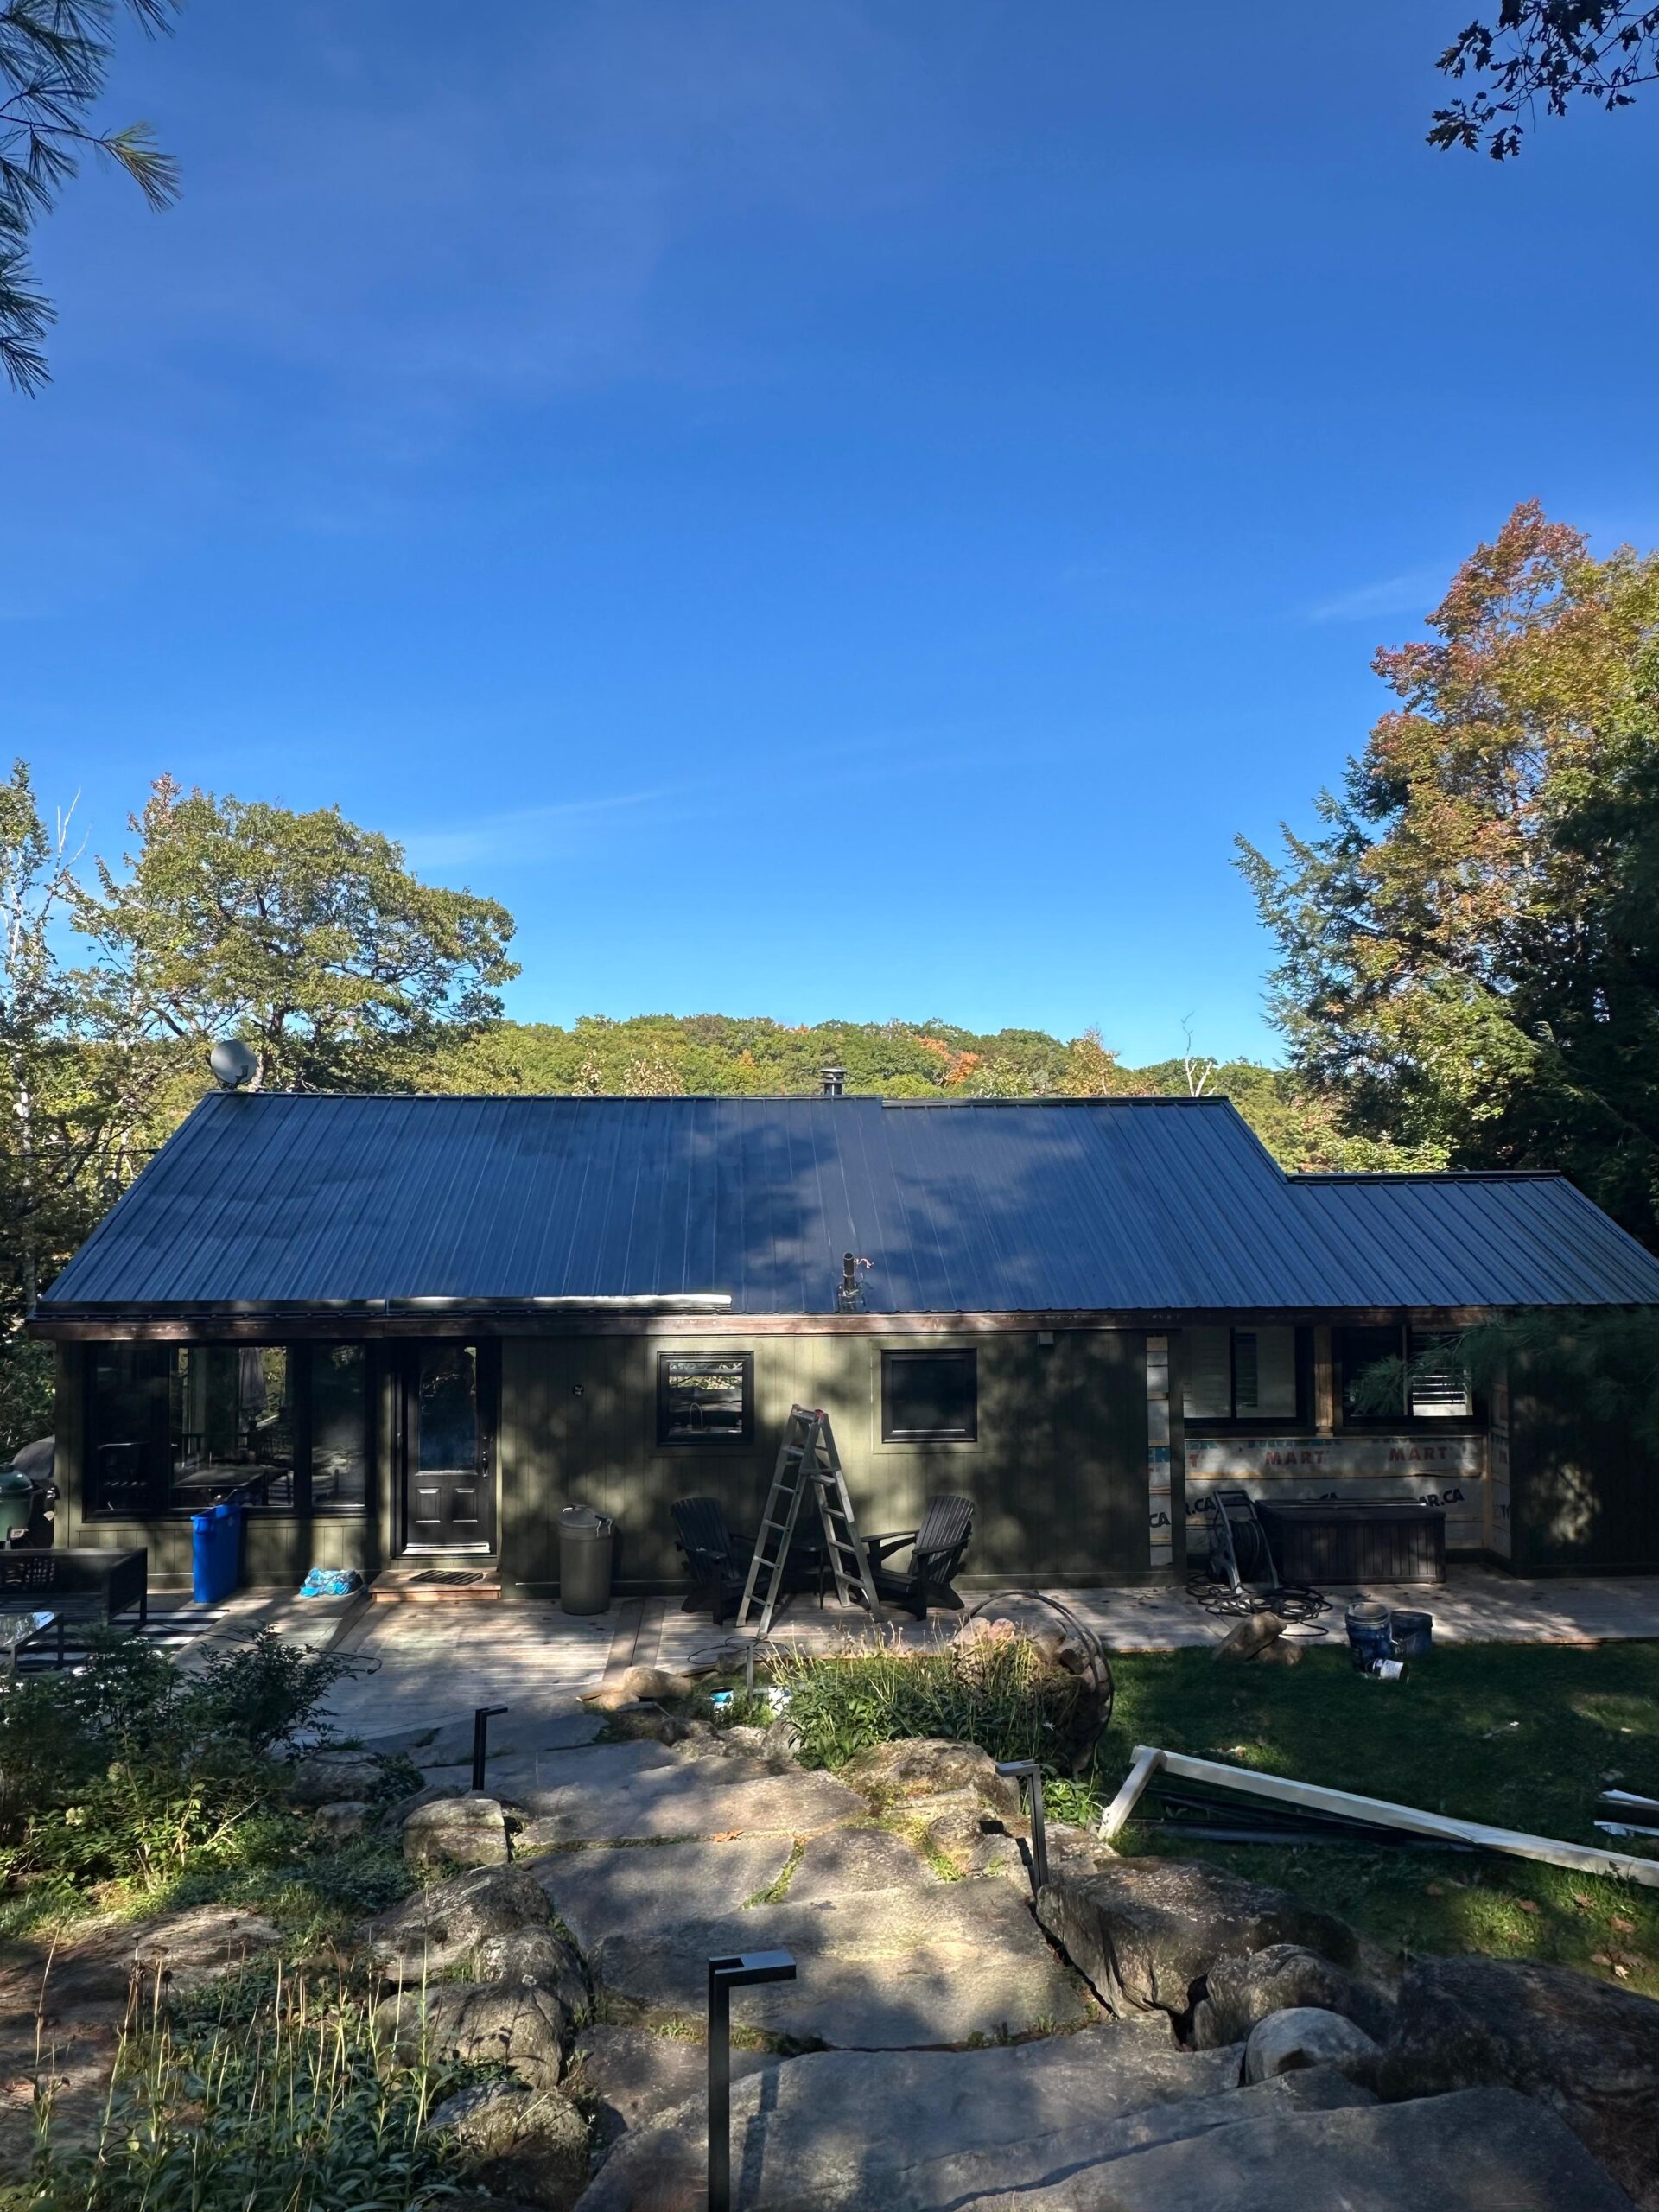
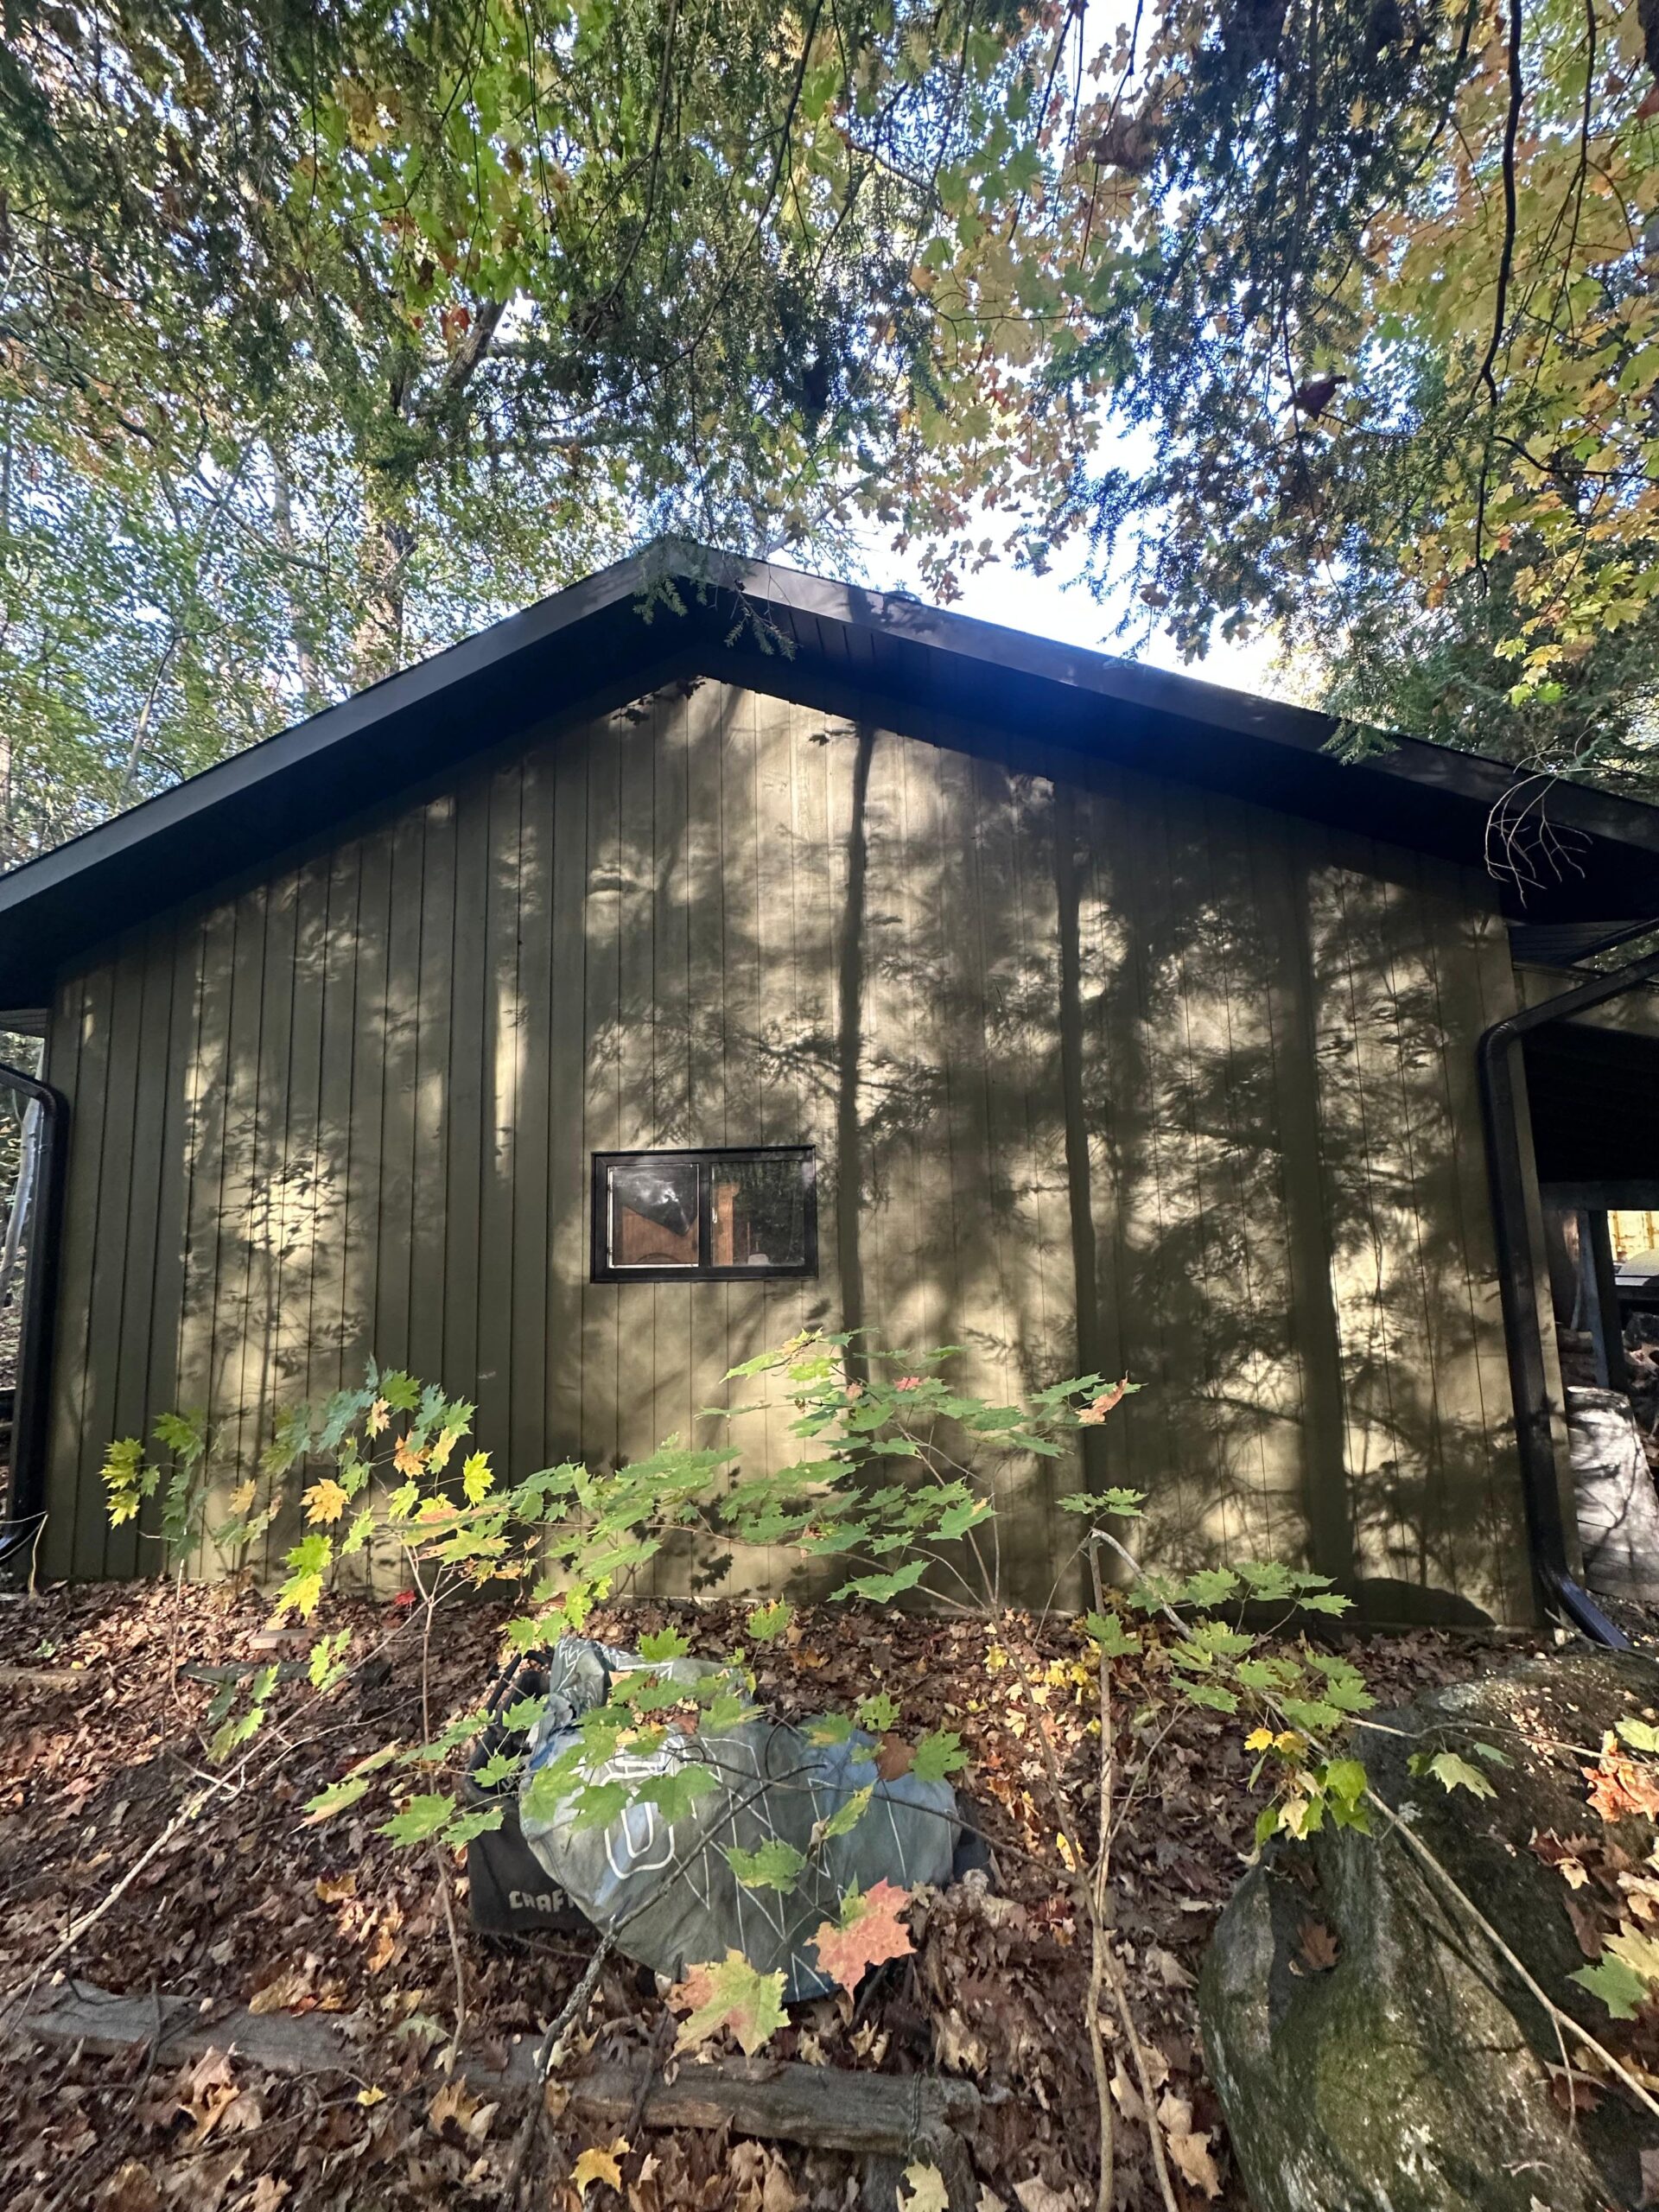
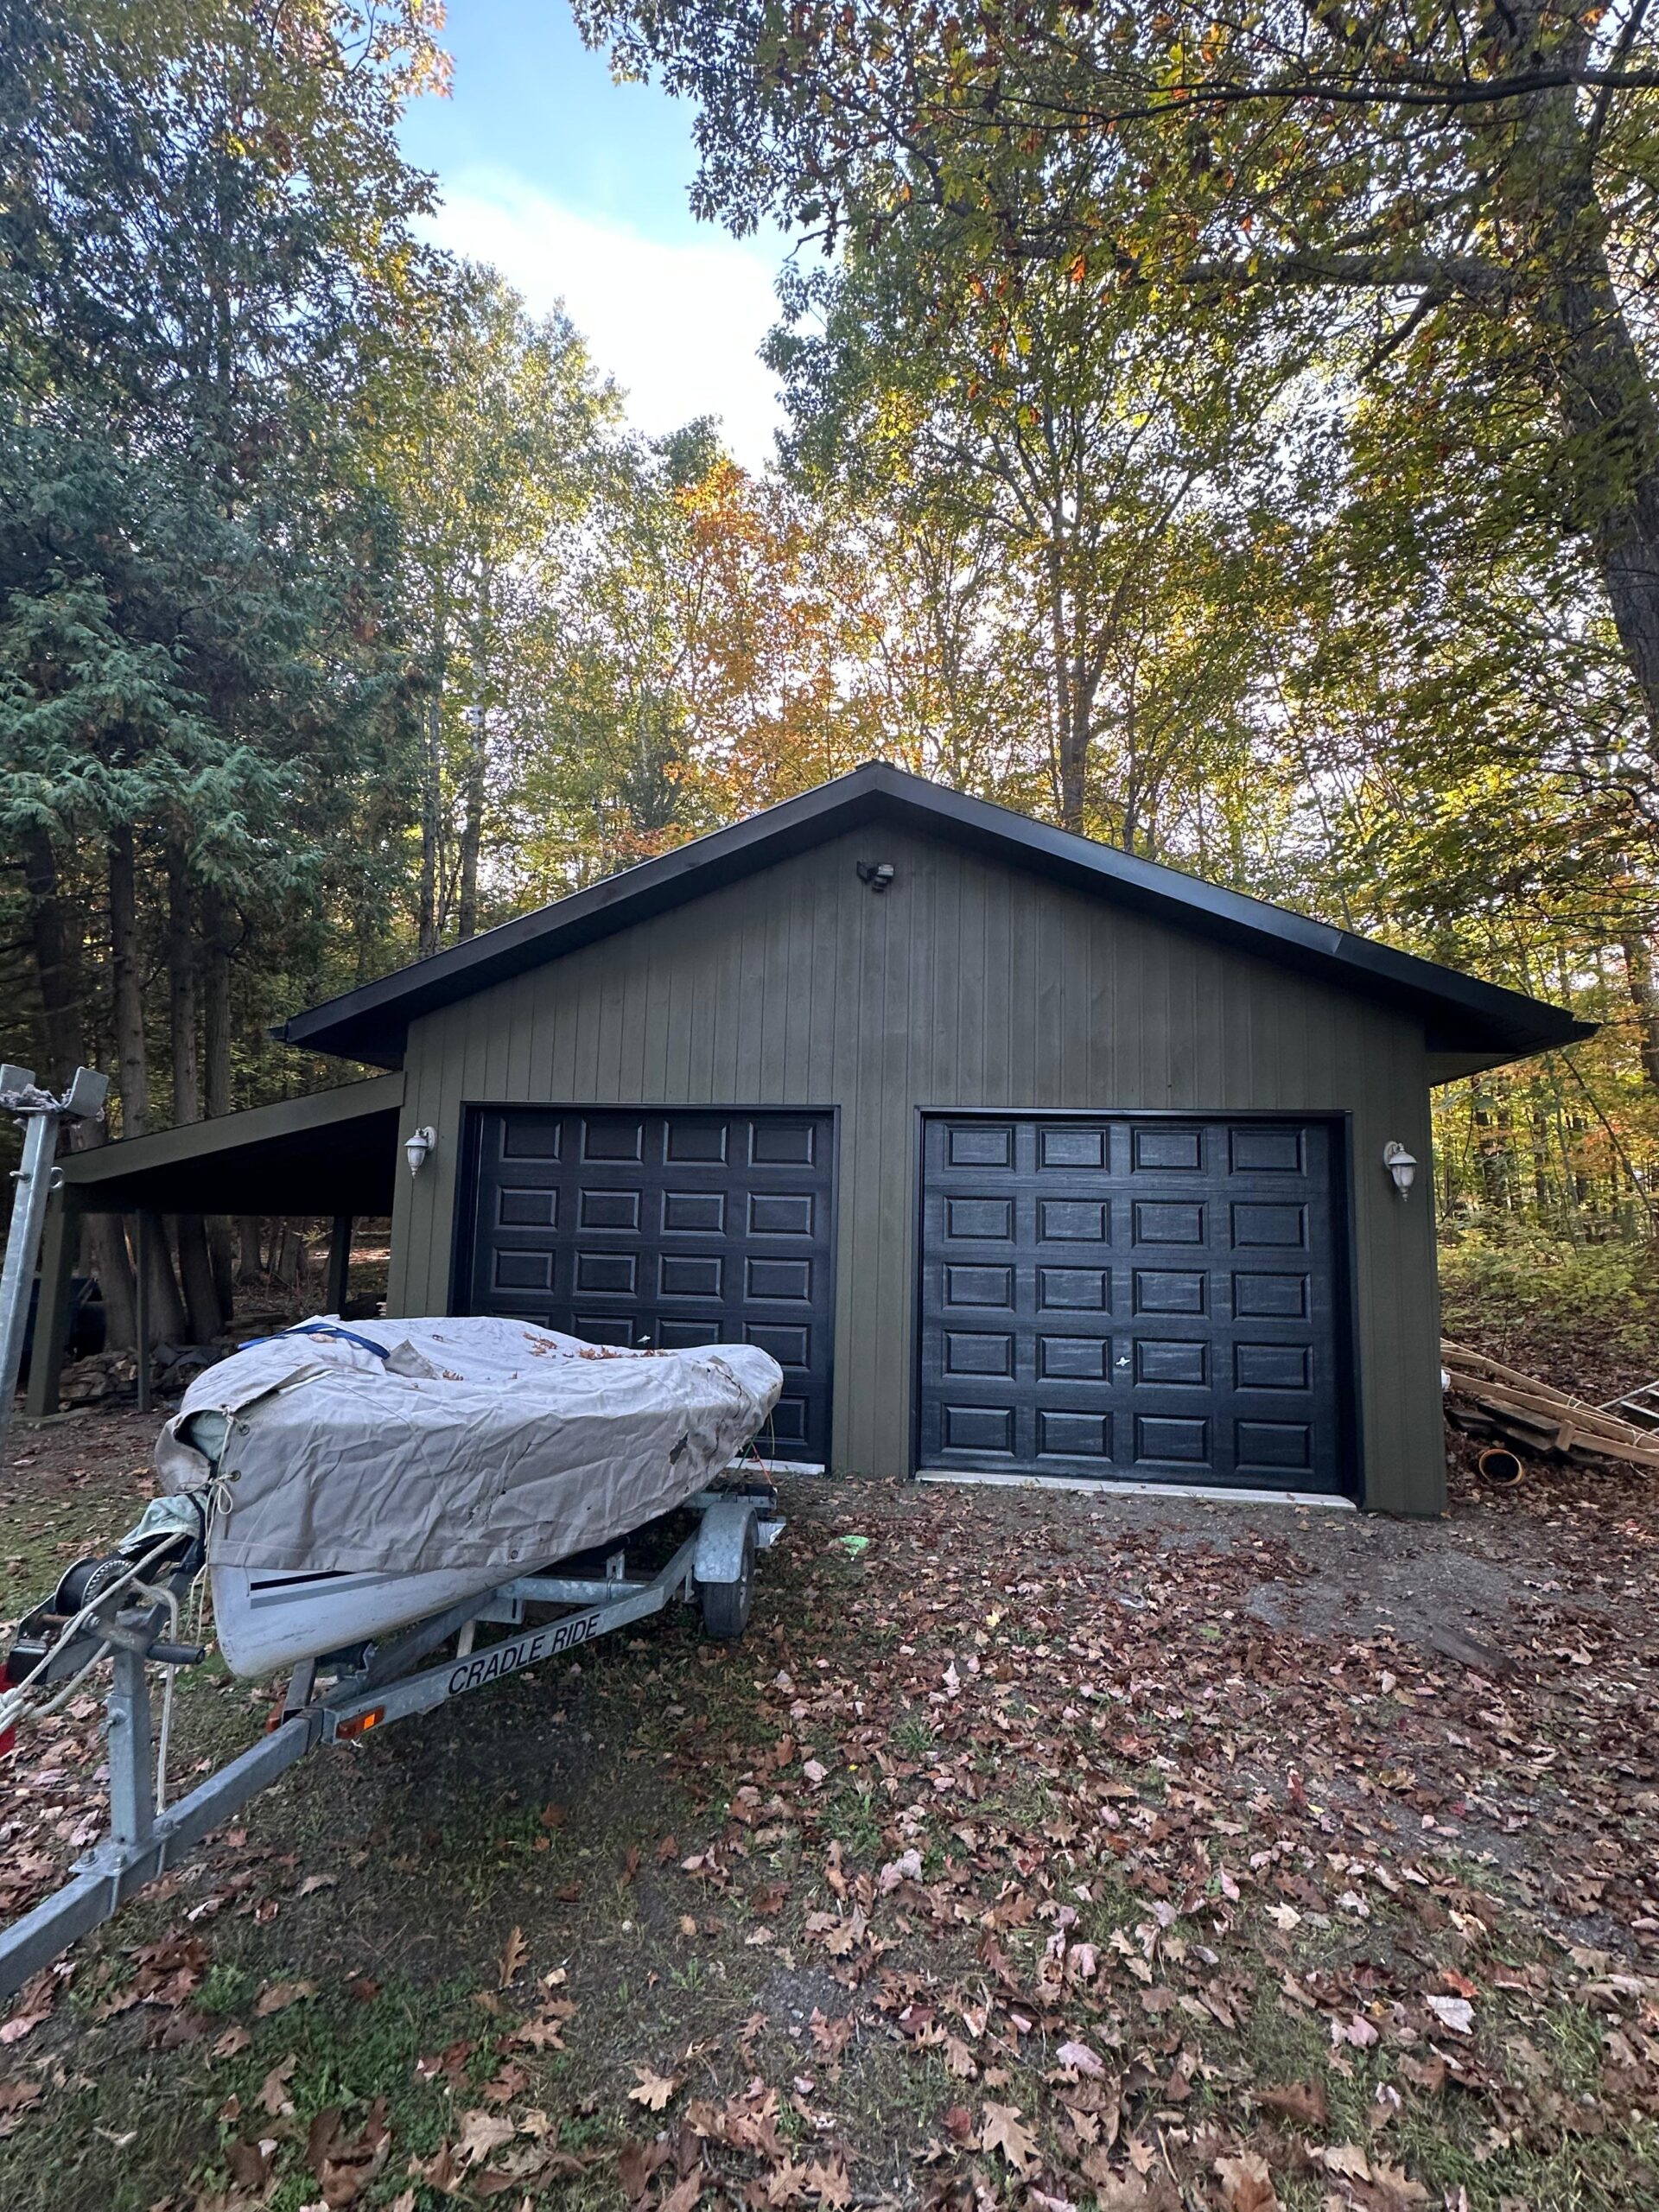
Port Carling is the “Hub of the Lakes,” home to some of the most stunning timber-frame properties in Canada. Here, exterior painting in Port Carling is synonymous with wood preservation. The intense UV rays reflecting off the water can break down the lignin in natural wood, leading to severe graying and structural rot.
Our professional painters are trained in the specific chemistry required for luxury cottage care. We don’t just apply paint; we utilize advanced translucent stains and high-build alkyd resins that penetrate deeply into the wood grain. This specialized approach to residential painting ensures your boathouse, expansive decks, and cottage exteriors are shielded against UV degradation and biological growth (like algae and mildew), preserving their natural beauty for seasons to come.
Upgrading Suburban Spaces: Interior Painting in Barrie
The interior of a busy family home requires finishes that are as durable as they are beautiful. For our interior painting in Barrie clients, we recommend and apply highly washable, scuff-resistant technologies. The modern home sees heavy traffic, and your walls shouldn’t show every fingerprint or bump.
Our house painting services go beyond the brush. We specialize in comprehensive preparation, including drywall leveling and gap caulking. Whether you are updating a master bedroom or requiring detailed cabinet refinishing to modernize an outdated kitchen, our interior painting team ensures a flawless, factory-like finish that elevates the entire atmosphere of your home.
The Retreat Aesthetic: Interior Painting in Port Carling
A Muskoka cottage is a sanctuary. Our interior painting in Port Carling service is designed to enhance the natural light and architectural grandeur of these waterfront properties. Working in spaces with vaulted timber ceilings and massive window frames requires the scaffolding and technical expertise that only top-tier exterior house painters and interior specialists possess.
We utilize premium, low-VOC (Volatile Organic Compounds) paints for all interior painting in Port Carling projects. This ensures that your cottage maintains pristine indoor air quality, free from harsh chemical odors, allowing you to relax the moment you arrive for the weekend.
Unifying Your Property with a Master House Painter
Why juggle different contractors for different parts of your home? Opting for a unified interior and exterior painting service guarantees a seamless color flow from the outside in. We help you select palettes that tie your exterior landscape together with your interior decor.
Stop Guessing with “Interior and Exterior Painting Near Me”
When homeowners desperately search for “interior and exterior painting near me” after a harsh winter, they often settle for whoever is available first. Protect your investment by choosing a trusted, local authority. We have built our reputation in the Simcoe and Muskoka regions by treating every property like a masterpiece.
End your search for “interior and exterior painting near me” with confidence. Whether it is rigorous outdoor painting in Barrie or delicate interior touches in Port Carling, our expert team is ready to deliver an unparalleled finish.