Kitchener-Cambridge
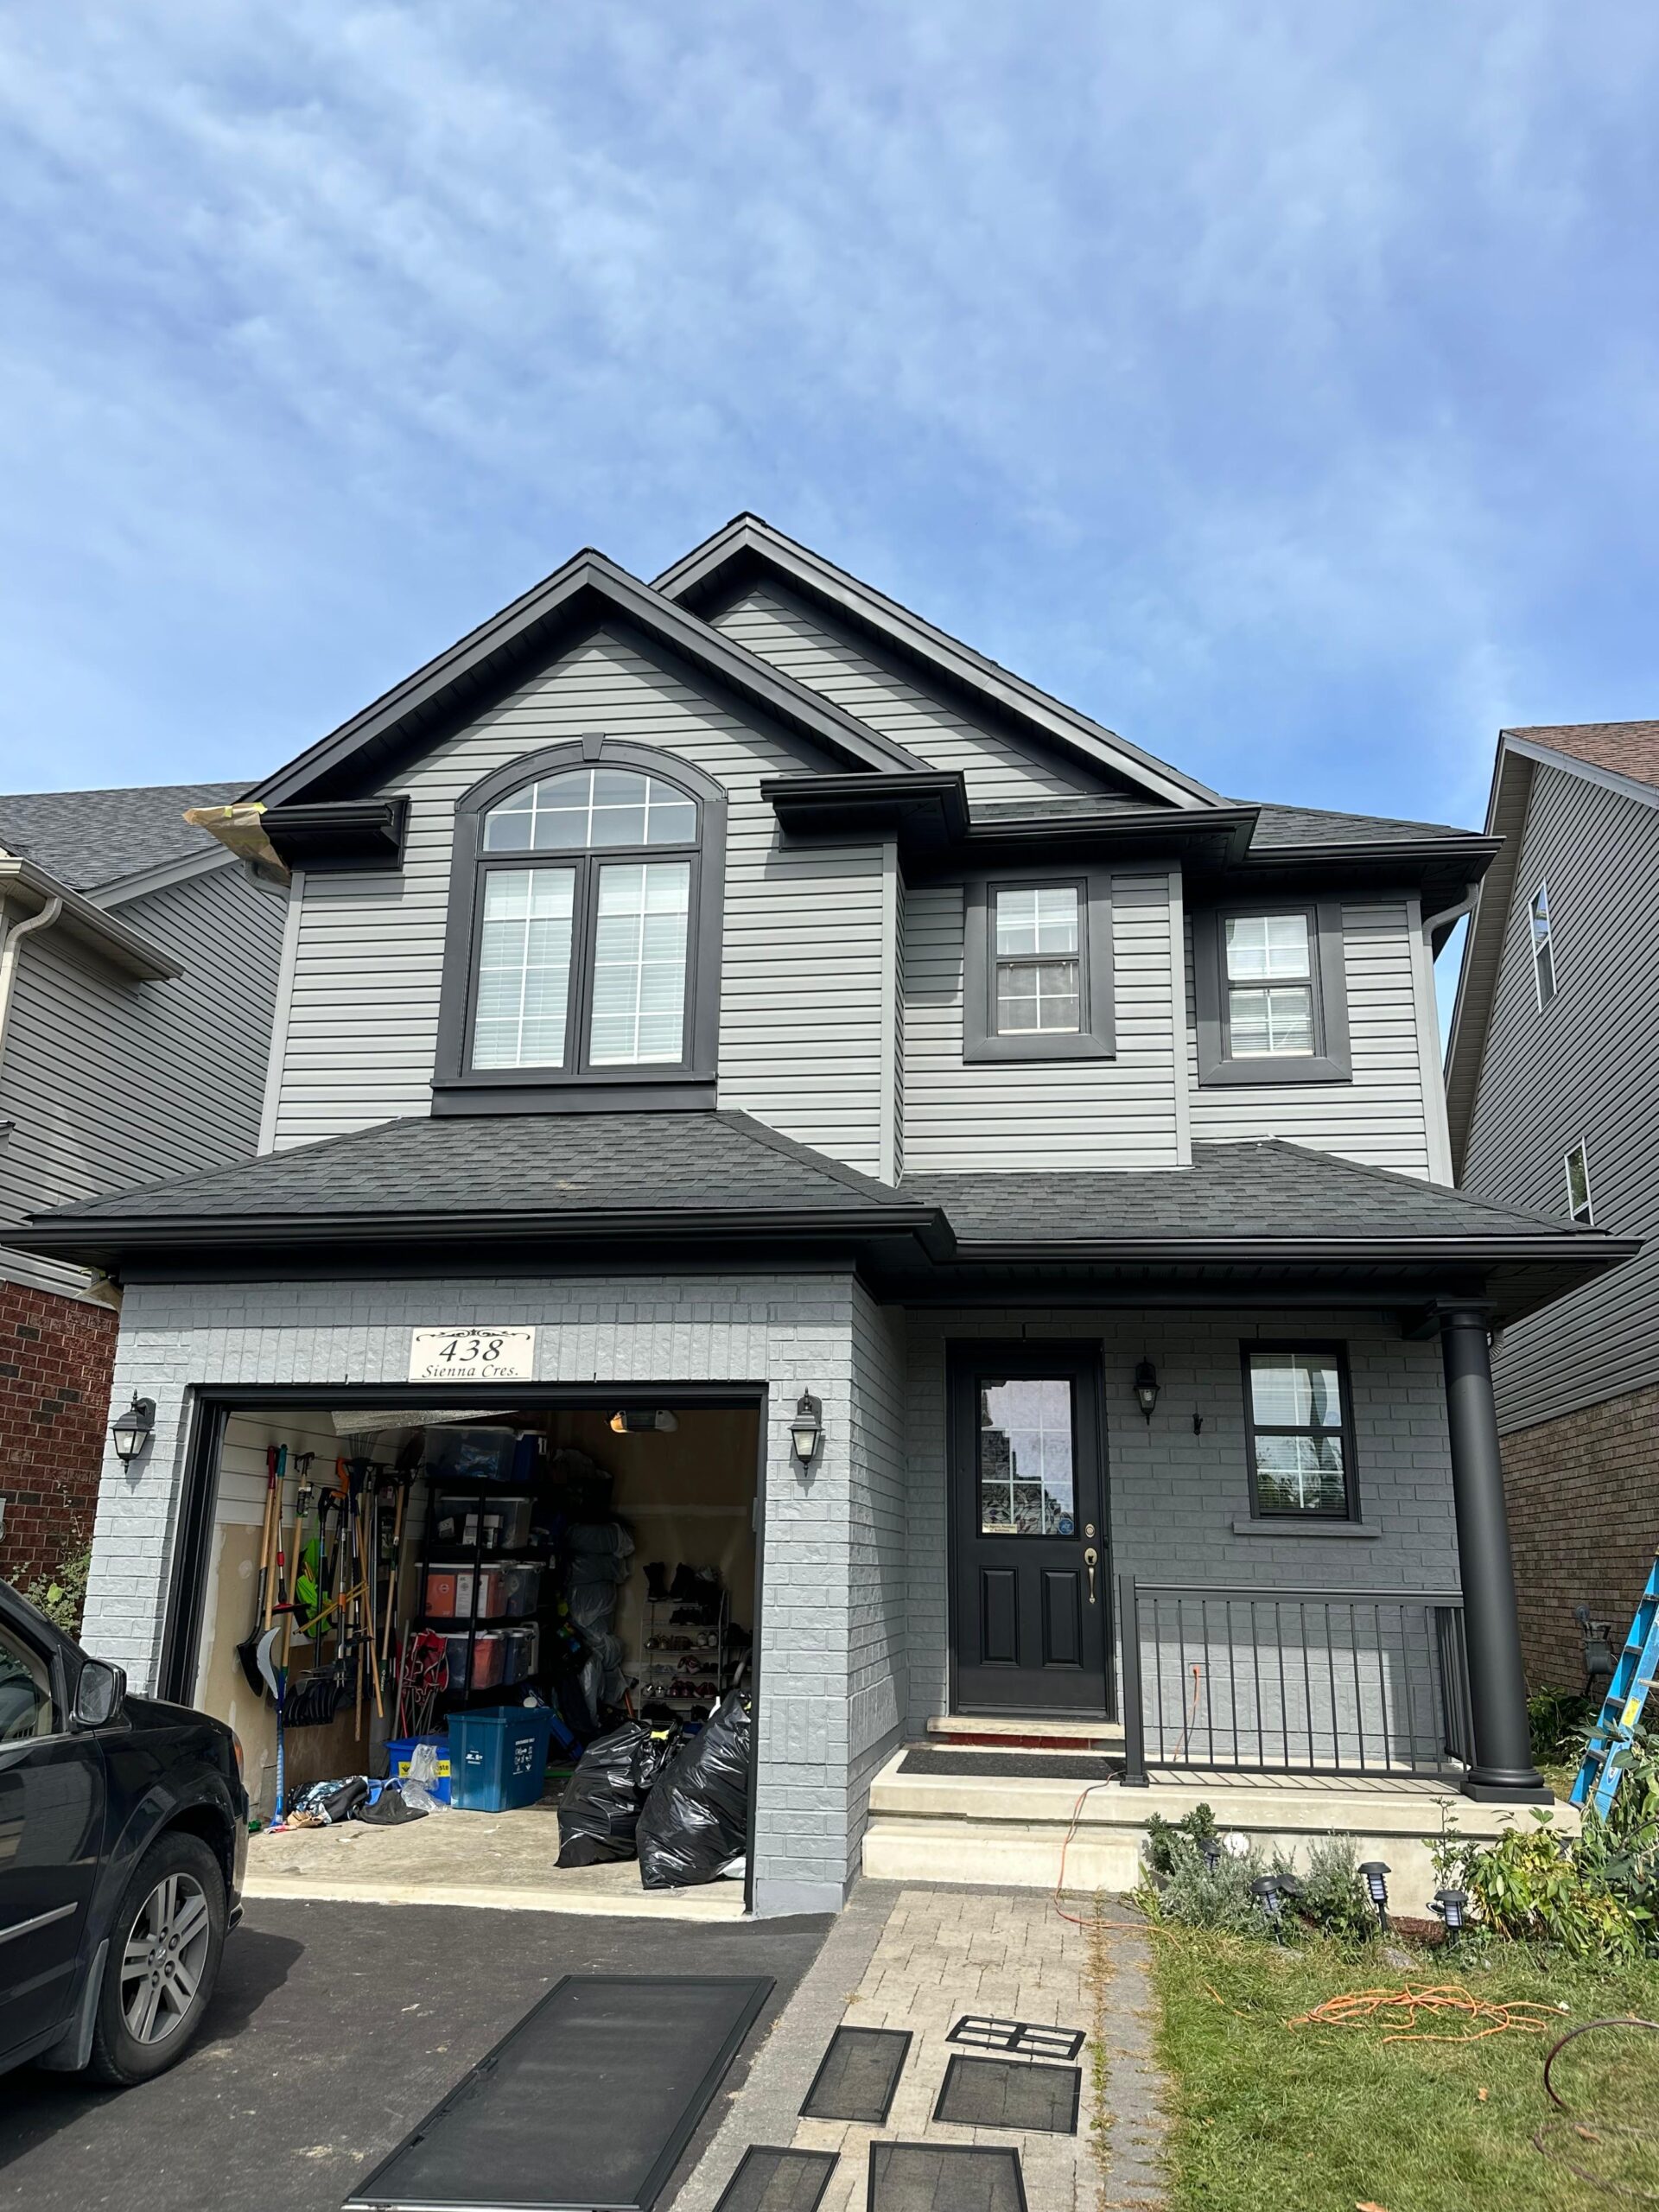
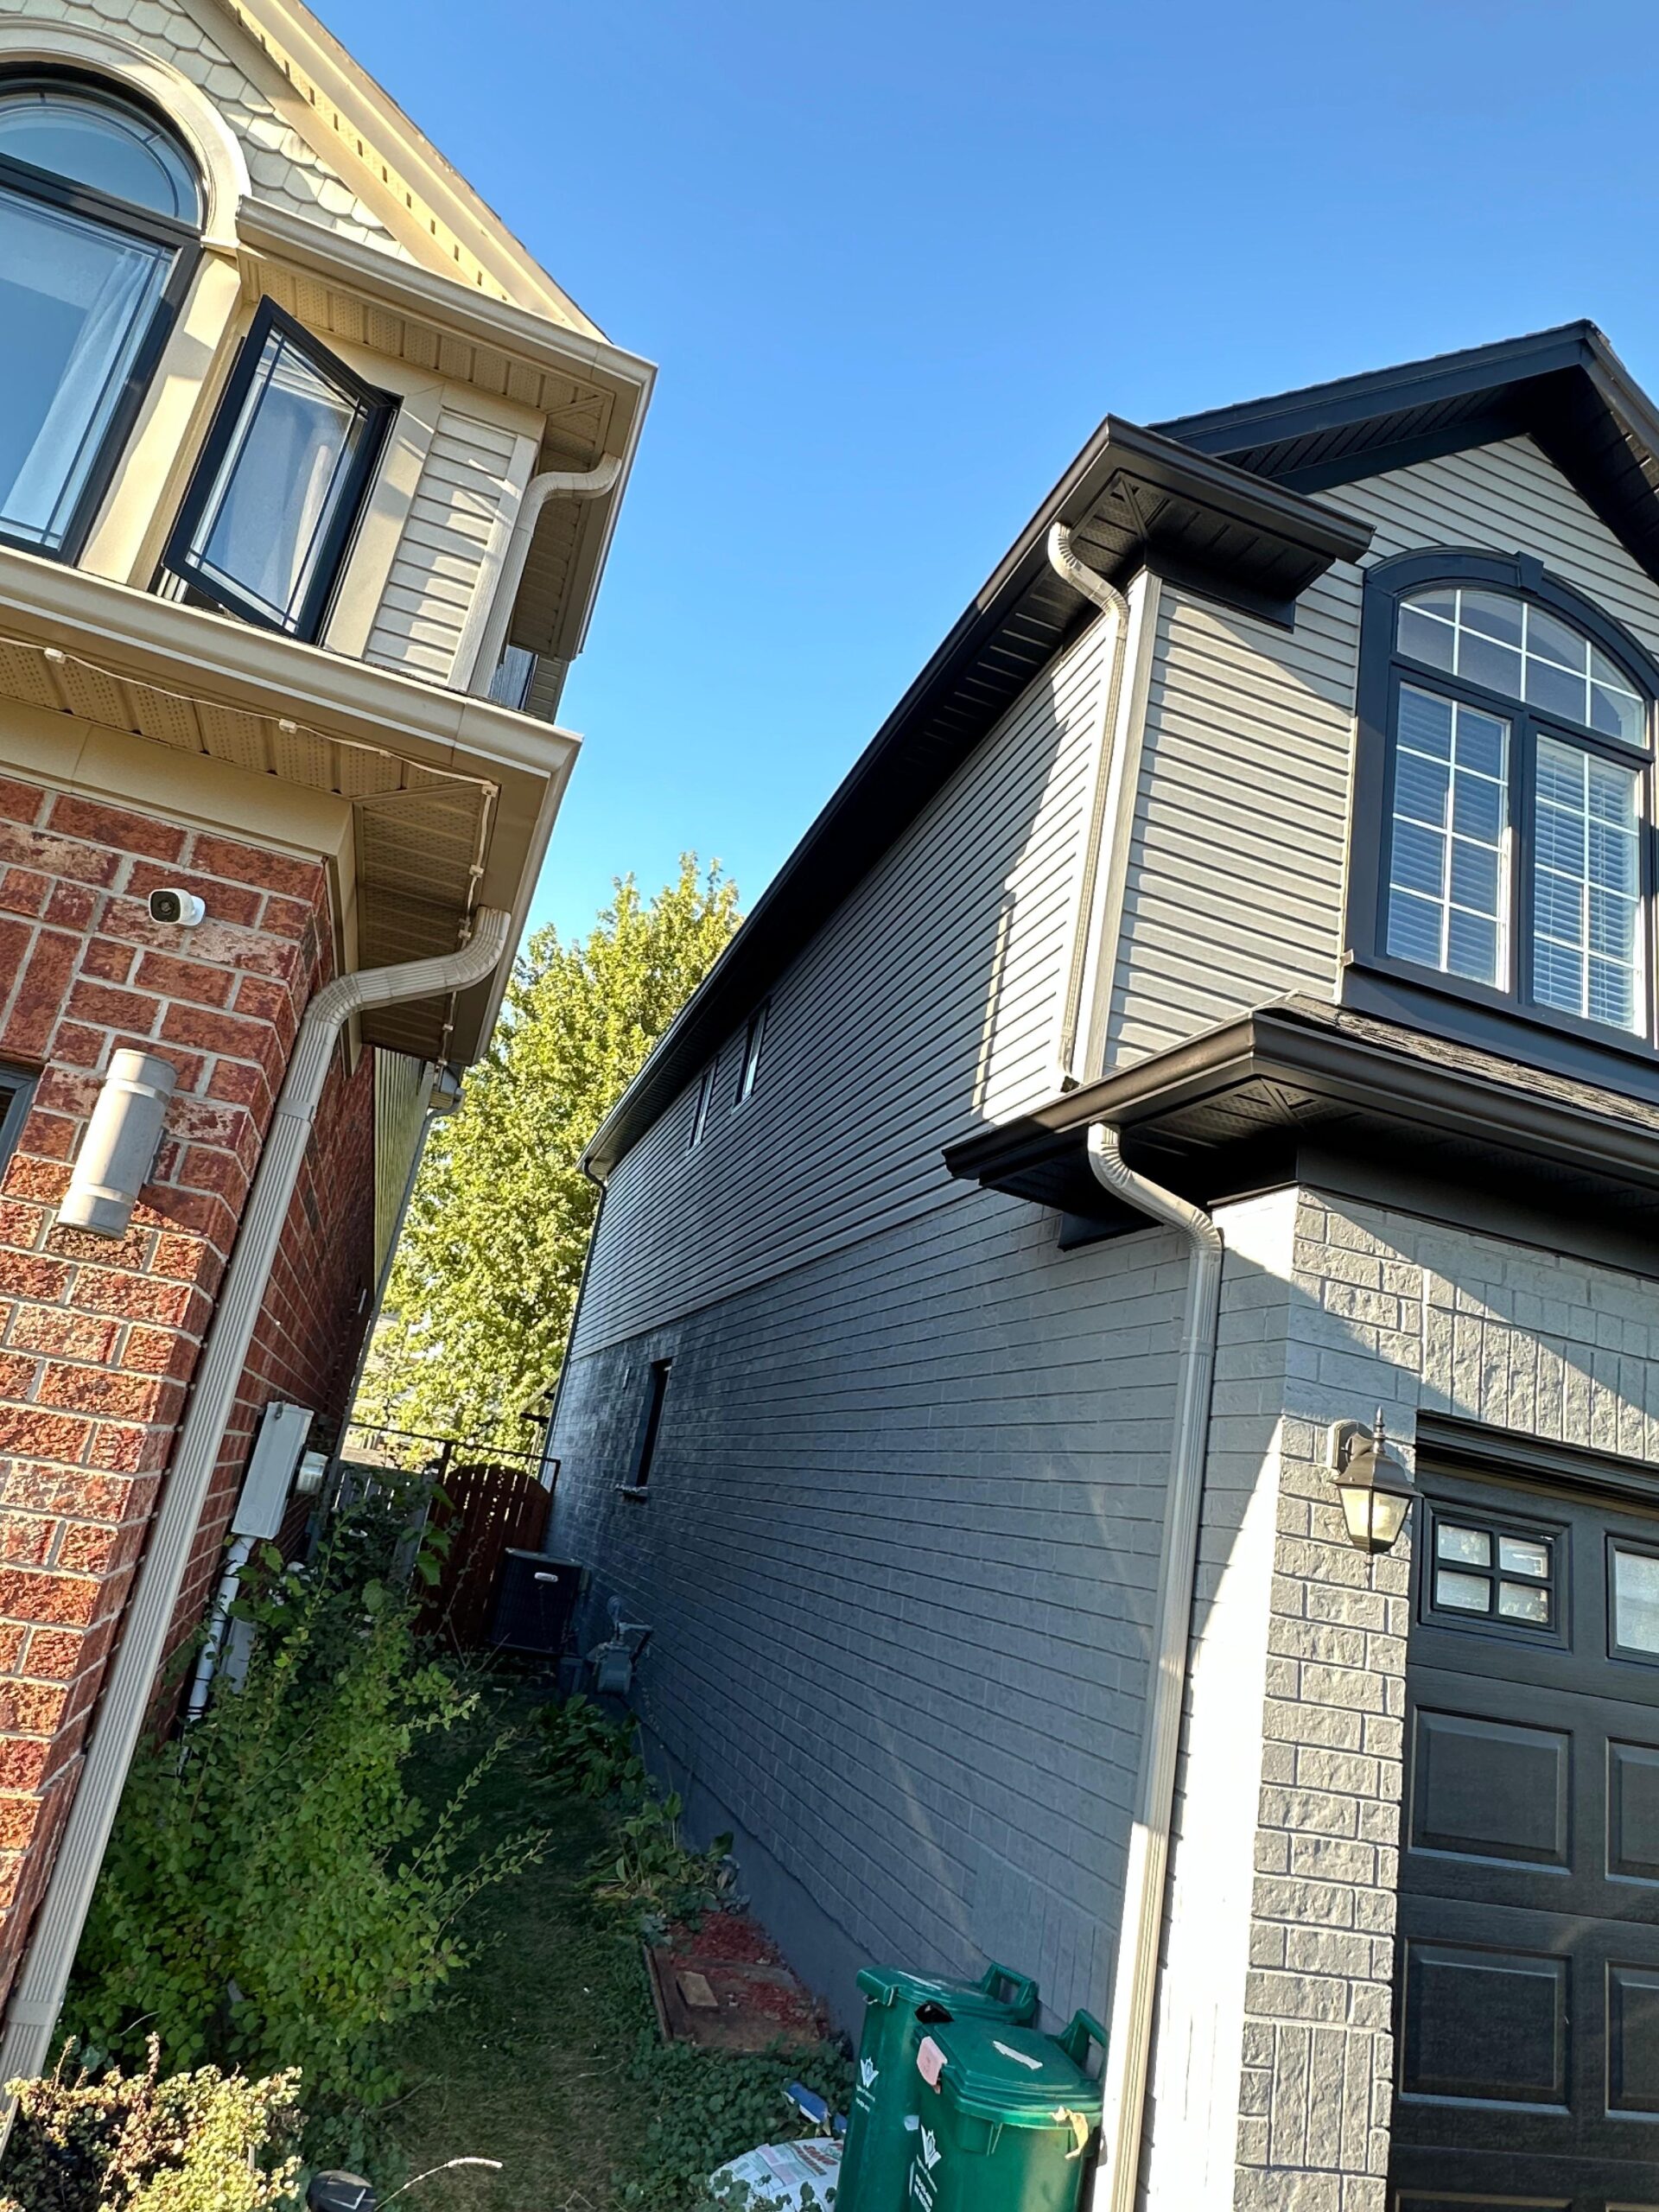
Interior painting is one of those jobs that looks simple until you actually start doing it. After working on dozens of real projects across Kitchener-Cambridge, I can tell you that the difference between average and professional houses painted is never the paint itself—it’s everything that happens before and during application.
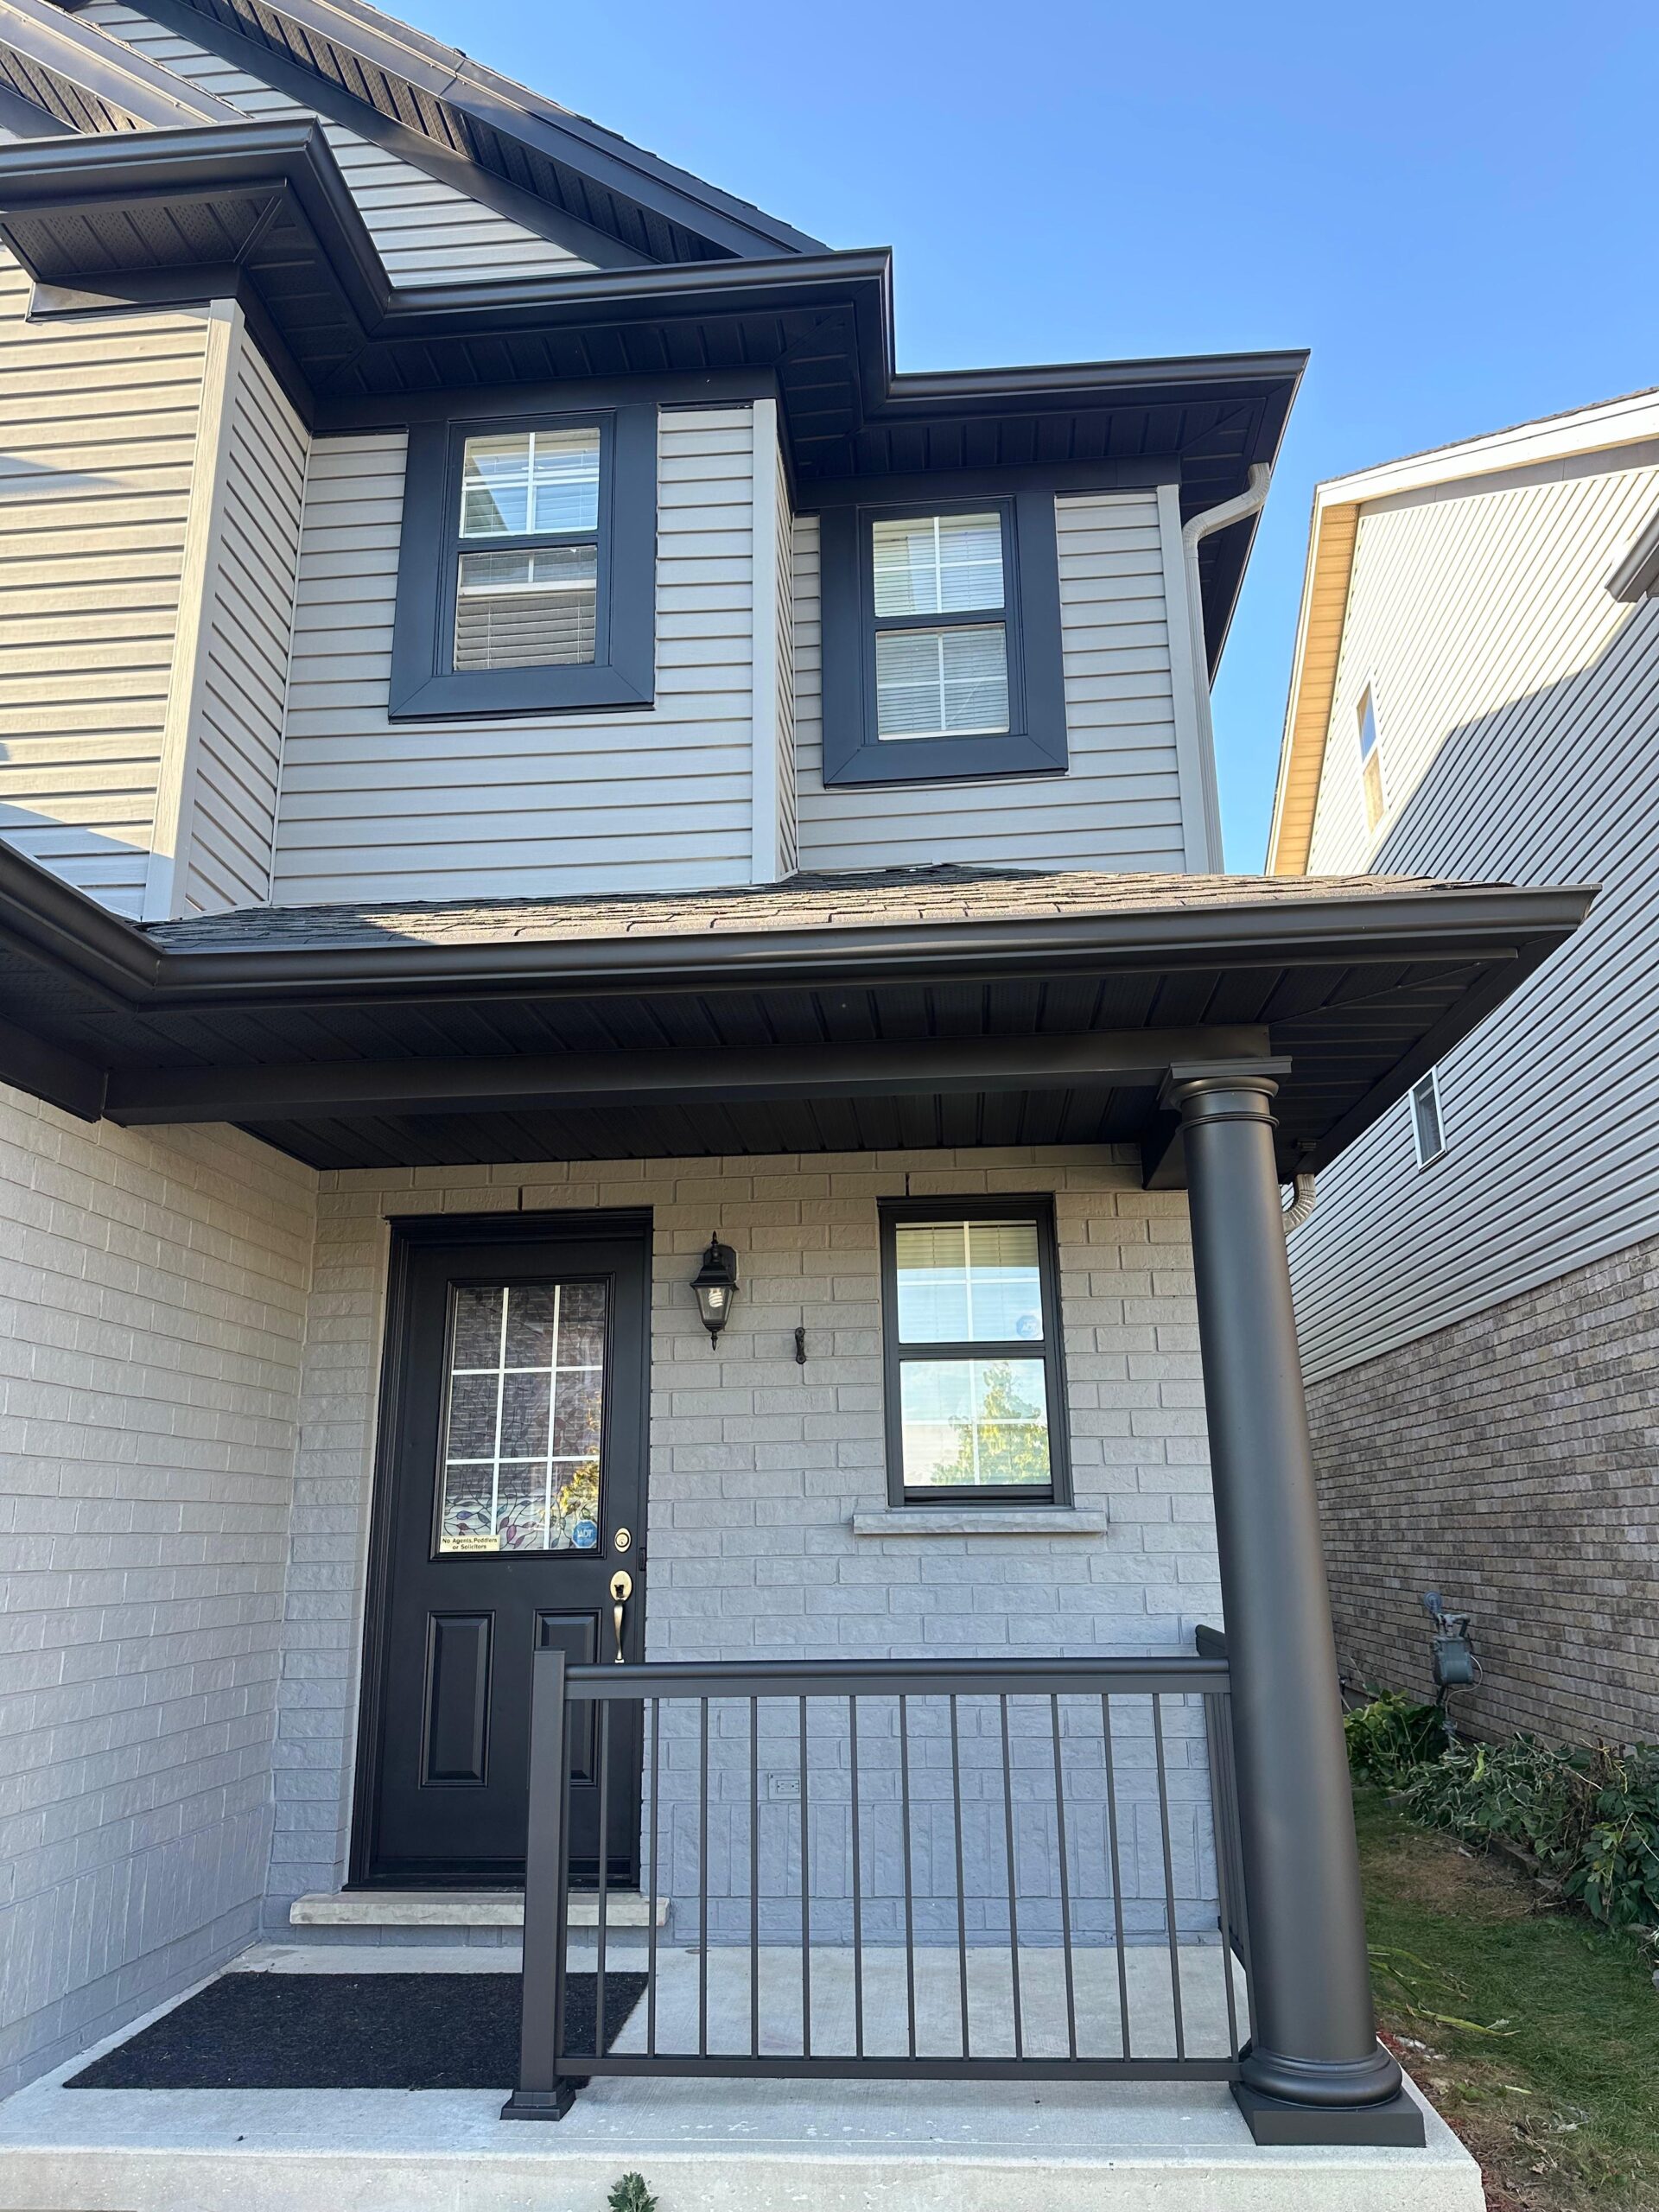
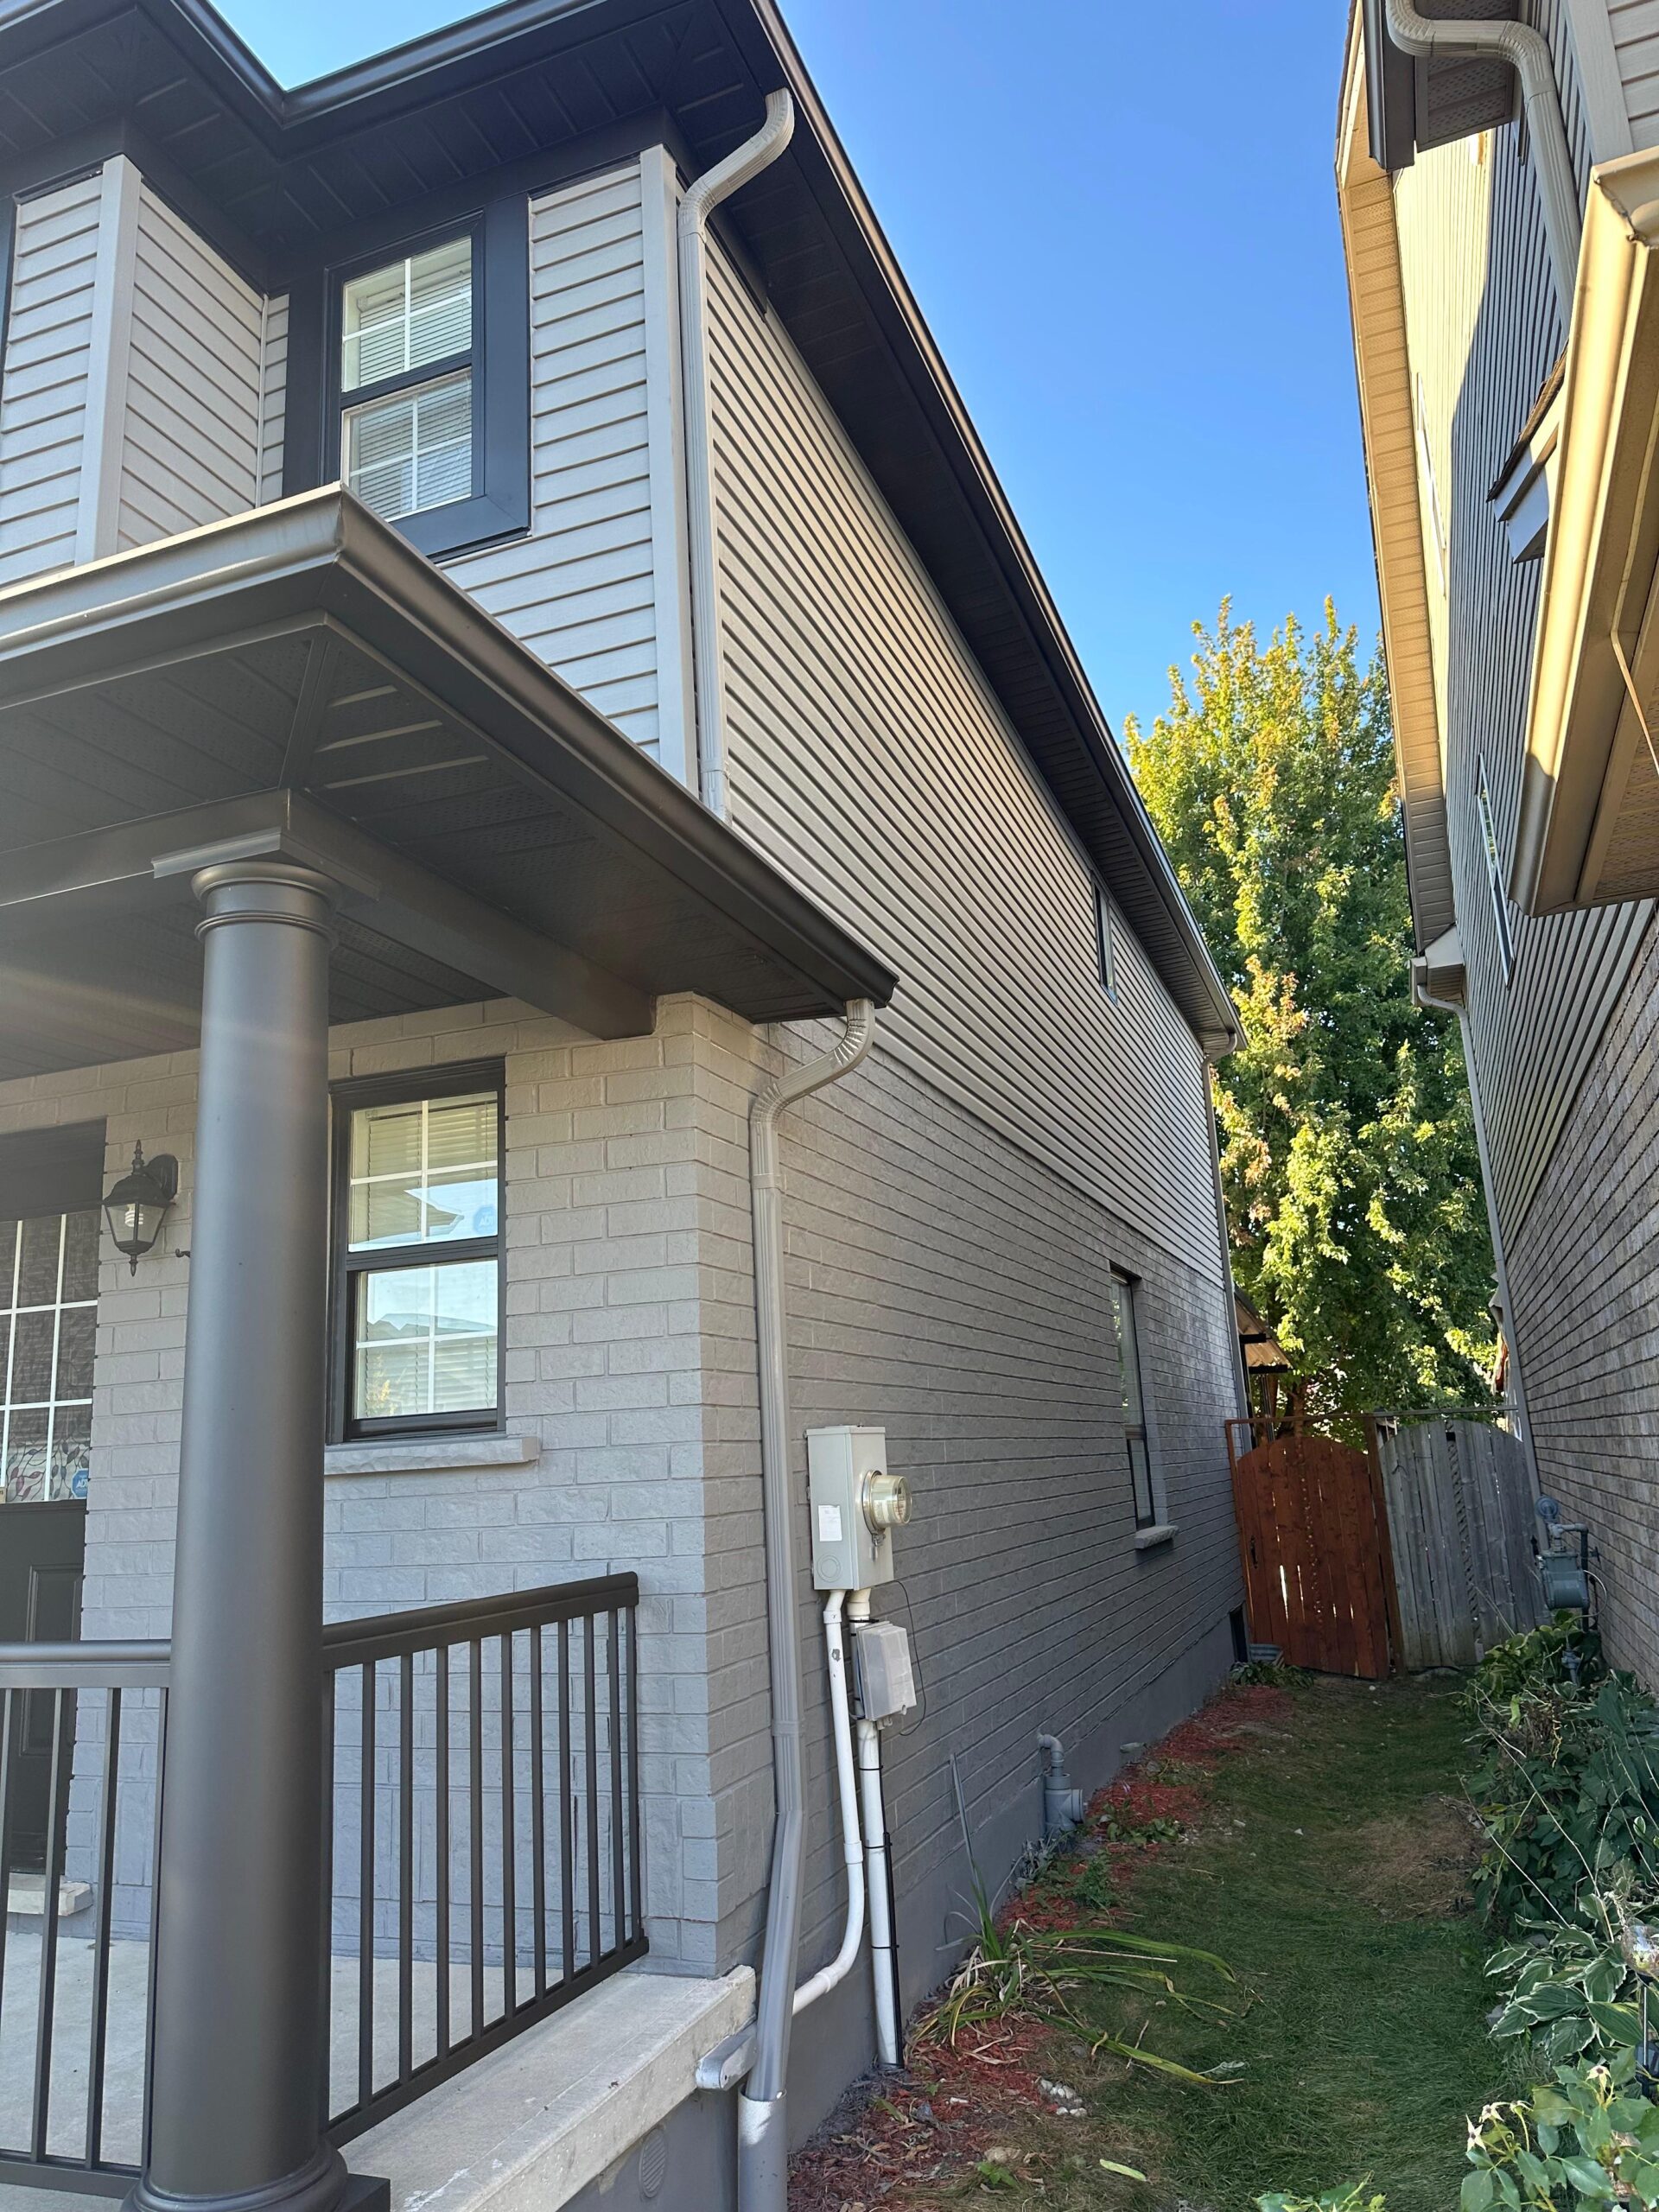
At Elroyale, we’ve handled everything from small apartment refreshes to full-scale residential transformations. The patterns are always the same: when interior painting is done right, the space feels clean, consistent, and balanced. When it’s done wrong, flaws stand out immediately—uneven edges, patchy coverage, and visible roller marks.
This guide is built on real job-site experience specifically from houses painted in Kitchener-Cambridge. No theory—just what actually works.
Interior Painting Process Used in Real Houses Painted Projects
In professional interior painting, there is always a system. You don’t improvise. Every step has a reason, and skipping one will show in the final result.
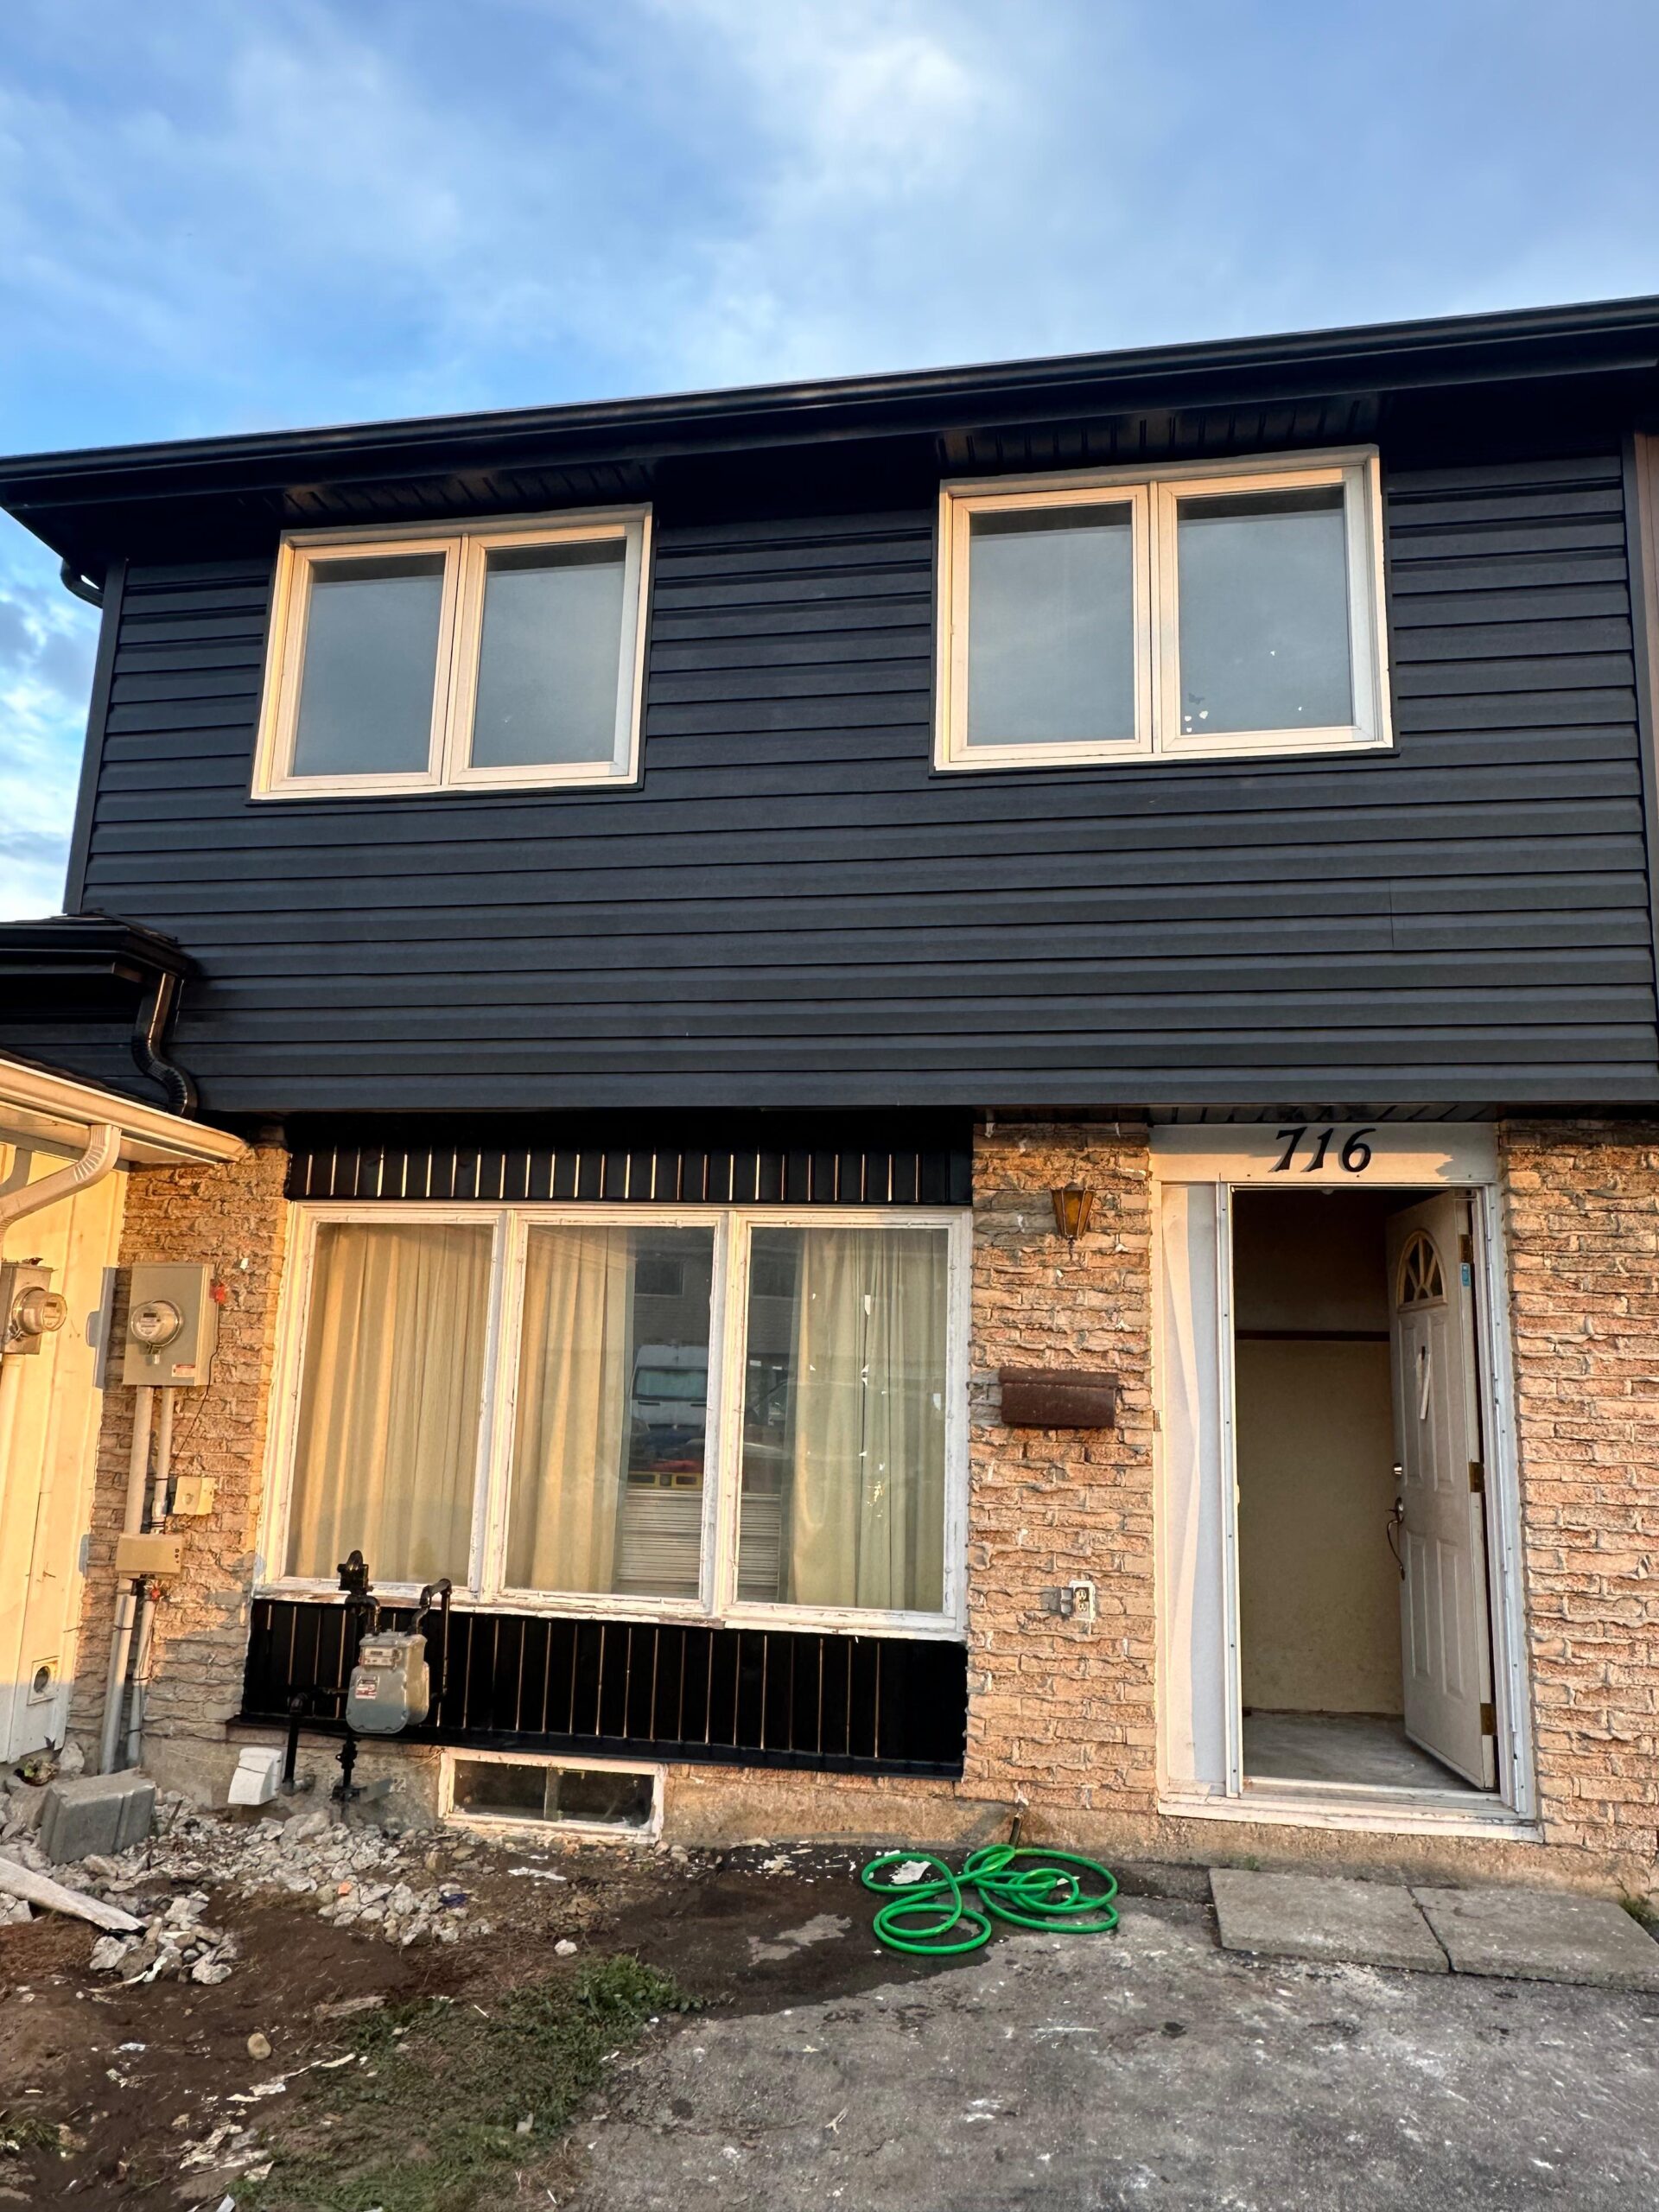
From what we’ve seen across houses painted in Kitchener-Cambridge, most failures happen because people rush into painting without preparation.
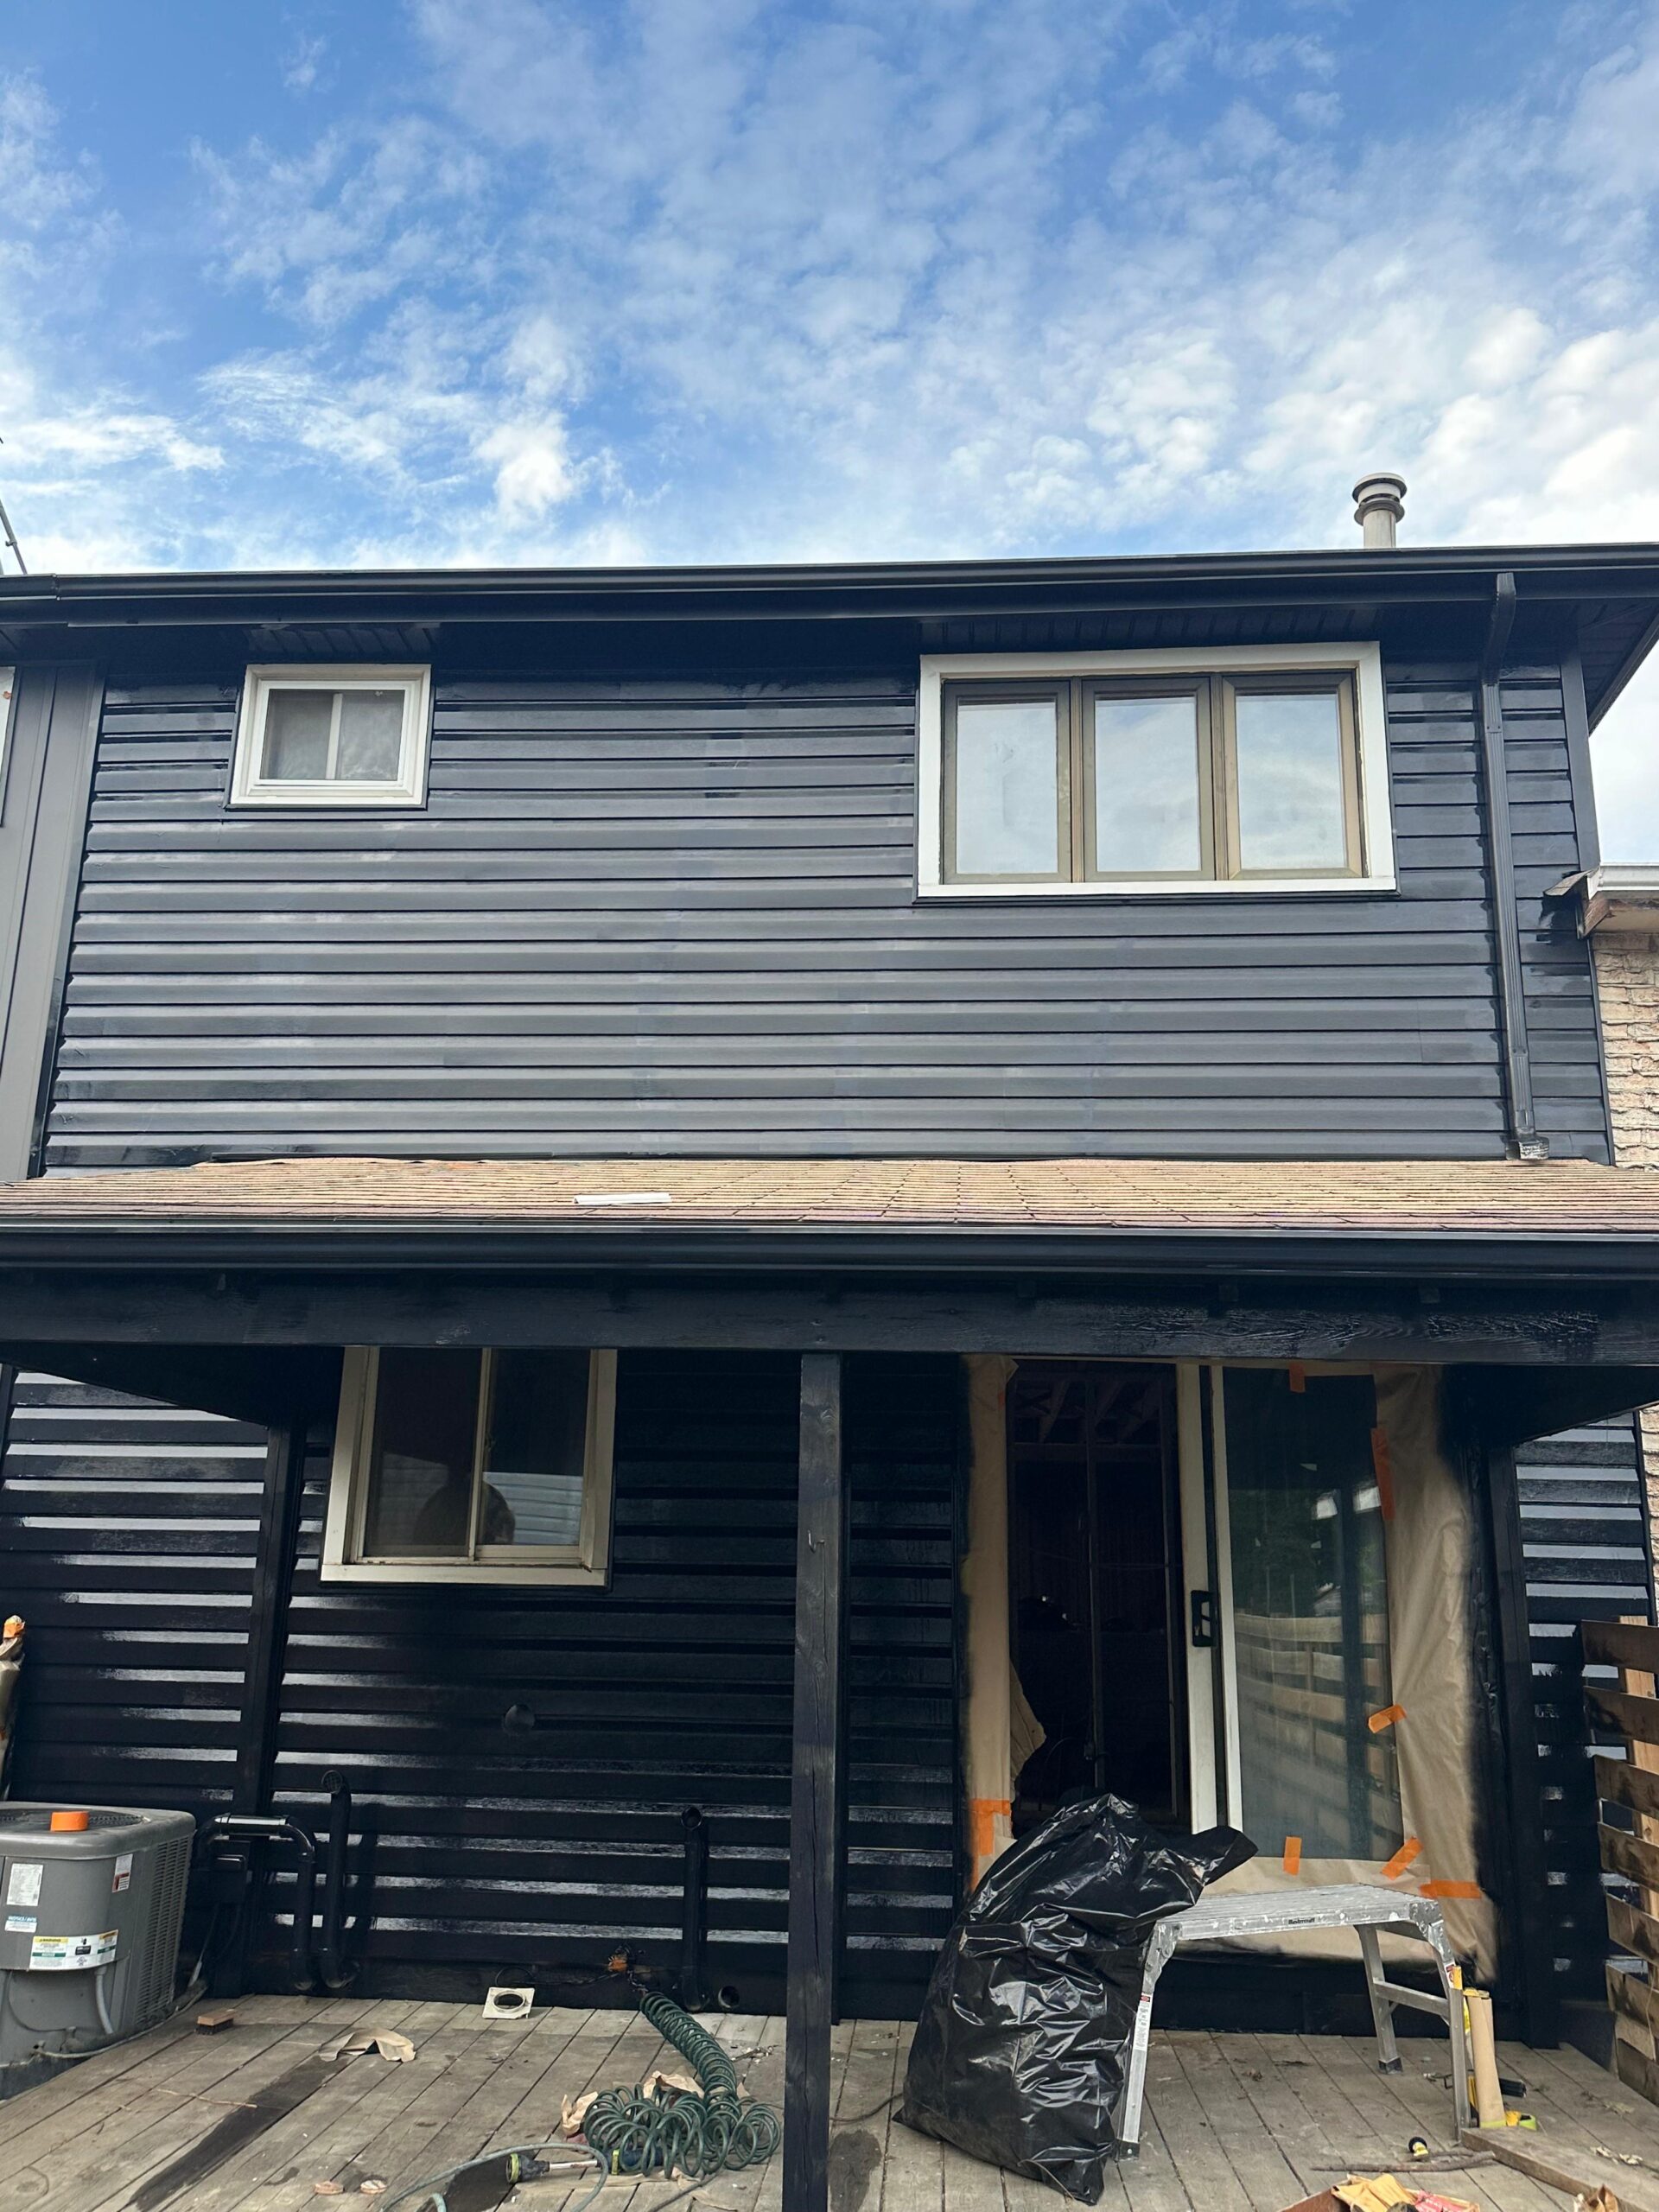
Evaluating the Walls Before Interior Painting
Before starting any interior painting, we always inspect the surface. Every wall is different.
Here’s what we look for:
Old peeling paint
Nail holes and dents
Moisture stains
Uneven textures
In many houses painted, especially older homes in Kitchener-Cambridge, walls have multiple layers of previous paint. If you don’t address that, your interior painting will never look smooth.
Surface Preparation (Where Most Time Goes)
Preparation is the backbone of all successful houses painted.
A proper prep routine includes:
Filling cracks and holes
Sanding rough areas
Cleaning dust and grease
Applying primer
On average, we spend more time preparing than actually doing the interior painting. That’s the reality behind clean, professional houses painted finishes.
Priming for Consistency
Primer is often ignored, but in real interior painting, it’s critical.
Why?
It evens out surface absorption
It improves paint adhesion
It ensures color accuracy
In many Kitchener-Cambridge houses painted, skipping primer leads to patchy walls where some areas look darker than others.
Cutting and Rolling Techniques
This is where technique becomes visible.
Cutting in defines the edges:
Ceilings
Corners
Around windows and trim
Then comes rolling. In professional interior painting, we use controlled patterns—not random strokes.
Bad rolling is the most obvious issue in poorly done houses painted:
Streaks
Uneven coverage
Visible overlaps
Multiple Coats for Depth
One coat is never enough for quality interior painting.
In most houses painted, we apply:
First coat for base coverage
Second coat for consistency
Third coat if needed for color change
Skipping coats is one of the main reasons DIY houses painted look incomplete.